
As of last year we've transitioned over to using Webflow for our marketing site, Daily.co. If you are unfamiliar, Webflow is a responsive web design tool, CMS and hosting platform. It allows us to build our site without relying on our developers for implementation. In turn, they can stay focused on improving our products.
I wanted to take a moment to highlight what we've learned about Webflow, after using it regularly. Hopefully some of our learnings can help you get setup, with Webflow.
Webflow feels like home
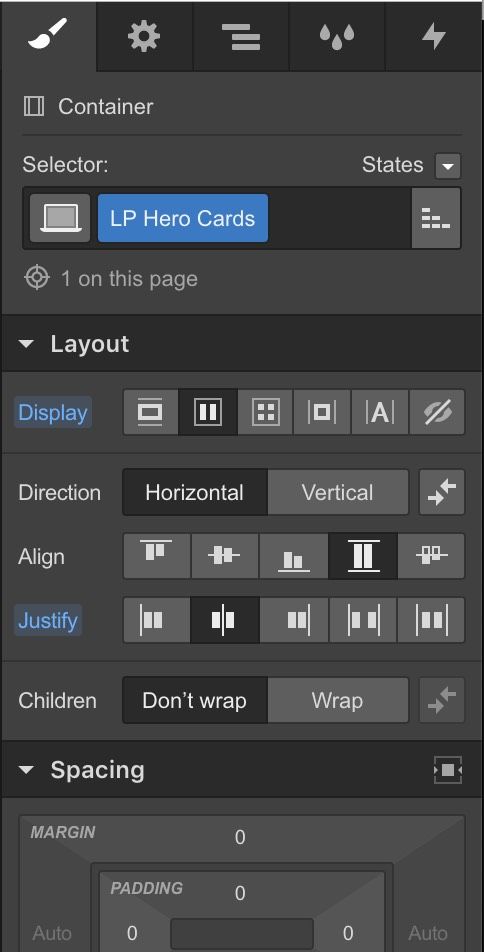
The styles panel in Webflow is incredibly powerful and robust. If you’re coming from Sketch, Adobe XD, etc. then you’ll feel right at home. Here you can manipulate an objects, layout, spacing, color, typography, positioning and more. Just select the object you’d like to edit, to adjust.
On the flip side, you cannot directly move objects around a “canvas”, so to speak. This makes sense as Webflow generates some rather good code. Had they allowed us to move objects around things would be a mess. Objects would need to be positioned absolutely, the DOM would break, and responsive design would be very difficult.
Classes, IDs and styling
It’s easy to create and style classes in Webflow. Classes allow you to reuse styles across elements. For example, you can style div, p, h1 tags and nearly everything else. Further, can also create combo classes to modify attributes of a class.

Pro tip: you can create global class by creating a new element and adding a new class (and any styles). It’s rather inelegant, but it works.
Unfortunately there is no ID selector concept. You can add an ID via the settings panel for things like page linking or setting up a scrollTo event. Yet CSS styles for an ID selector must be added as custom code. I do wish that classes and ID's functioned more like "real" code, yet the mental model involved there is complex, so I understand this structure. If you're familiar with HTML/CSS this may take some getting used to.
My recommendation with classes would be to create (or use) them for components. I found it difficult to create globally reusable classes, though I'm open to any advice here!
Custom interactions and animations

Webflow has put a lot of work into their interactions and animations, and it shows. At the high level you can add an interaction to elements (i.e. hovering a button) or via the page (i.e. on load). We created quite a few custom interactions for our API demo page, and simpler ones live elsewhere across the site.
Even greater, interactions are responsive and can be tested in real-time! They allow us to use motion and animation to direct a users attention, tell a story, or simply, add more emotion to a design. There’s no way you can get this granular in a tool like Sketch.
Symbols
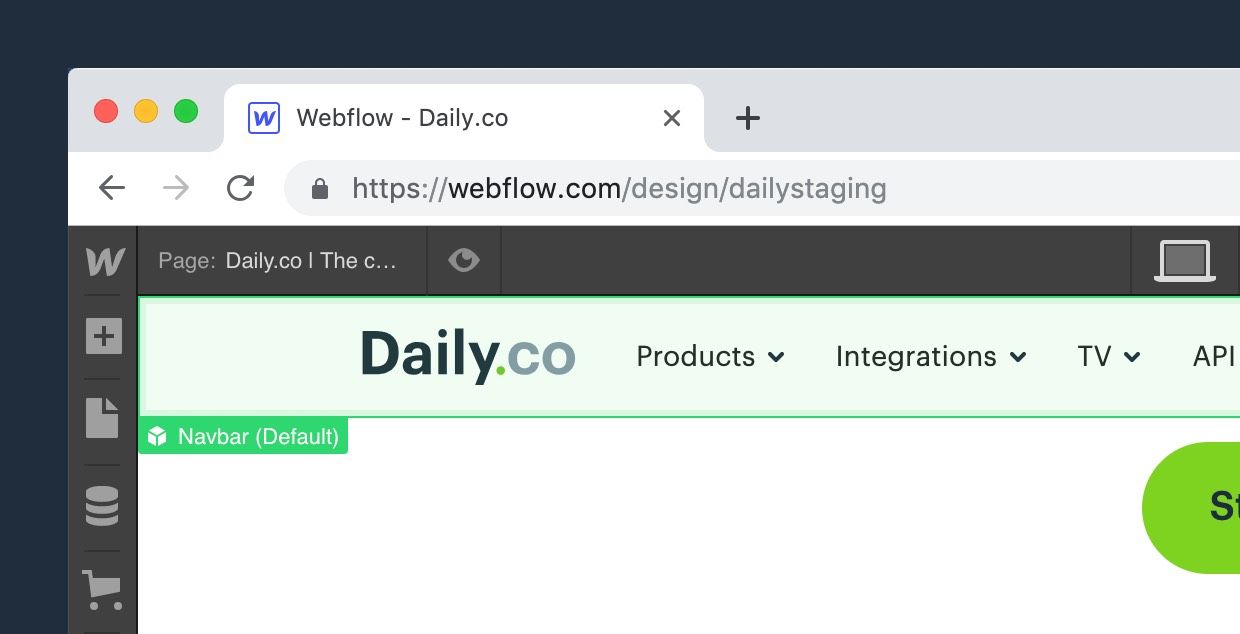
Symbols are critical to a modern web designers workflow. In their words:
Symbols turn any element and its children into a reusable component.
Whenever you update a symbol, those updates respectfully cascade across all instances. For example, you can change a link in your footer symbol by editing any instance of that symbol only to have that update reflected across all other instances.
The one downside of symbols is that, as of today, you cannot nest them. Modern design tools allow designers to build and construct UI through the lens of a component tree. Nested symbols would bring a lot of blue sky to what you could create in Webflow.
CMS
Webflow also has a built in CMS to help manage and flow dynamic content throughout your site. You can use it to manage a blog, like ours, or any other content types that you could imagine.
Quirks here mainly revolve around the blog. Our engineering team had to build in some great hacks (read about them in this post) to help us convert a plain text field in our CMS — that we use for posts written in Markdown — to HTML. This hack allowed us to work around the lack of support for code blocks or in-line code styling; plus support for styling nested lists.
Should you end up using Webflow for a blog, you may quickly run into limitations, like these. Luckily there’s some good hacks out there on the web.
Update, April 15, 2019: Unfortunately, you cannot nest CMS collections.
Attention to detail
Details matter. The Webflow team has clearly been hard at work sweating the design details. To name some of my favorite features, there are:
- Grid overlays
- Grid layout!
- UI overlays
- A robust breadcrumb bar
- Drag-and-drop functionality
- Keyboard shortcuts
- Password/page privacy controls
Tutorials and help content
This is huge! There is a robust library of help content that the Webflow team has put together. If I have a question I can simply Google it and there’s high likelihood that they’ve created a help article for it. Even more, the have some of the most polished and concise video tutorials out there.
There’s also an active help forum (Webflow University) that you can search and ask for trouble shooting advice.
Custom embeds and code
You can add code embeds to any site with ease. We utilized a bunch of them for our API demo. With Webflow's code embeds we could easily use our own API calls on our Webflow pages; which only highlights the power of Weblow, and our API! Did I mention, we have an API 😇
You can also add custom code to a page or the global site — inside the head or after the body tag. You are limited to 10,000 characters, which may be an issue for some implementations.
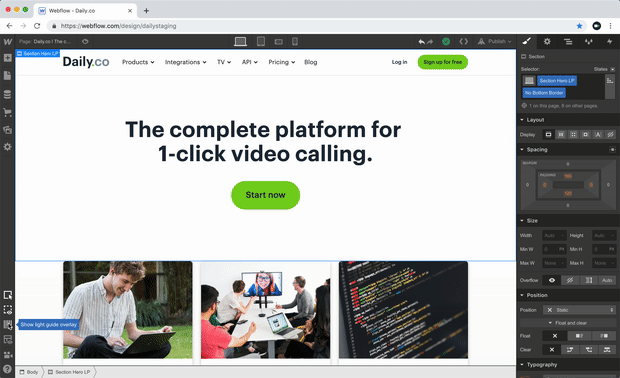
Responsive design
Webflow excels at responsive design. Once you’ve laid out your desktop design it is easily reflowed and styled for small viewports. In fact, I tend to only design the desktop version of a webpage in Sketch these days. I’ll then implement it in Webflow and iteratively tweak the design there for responsive viewports.
Publishing your site
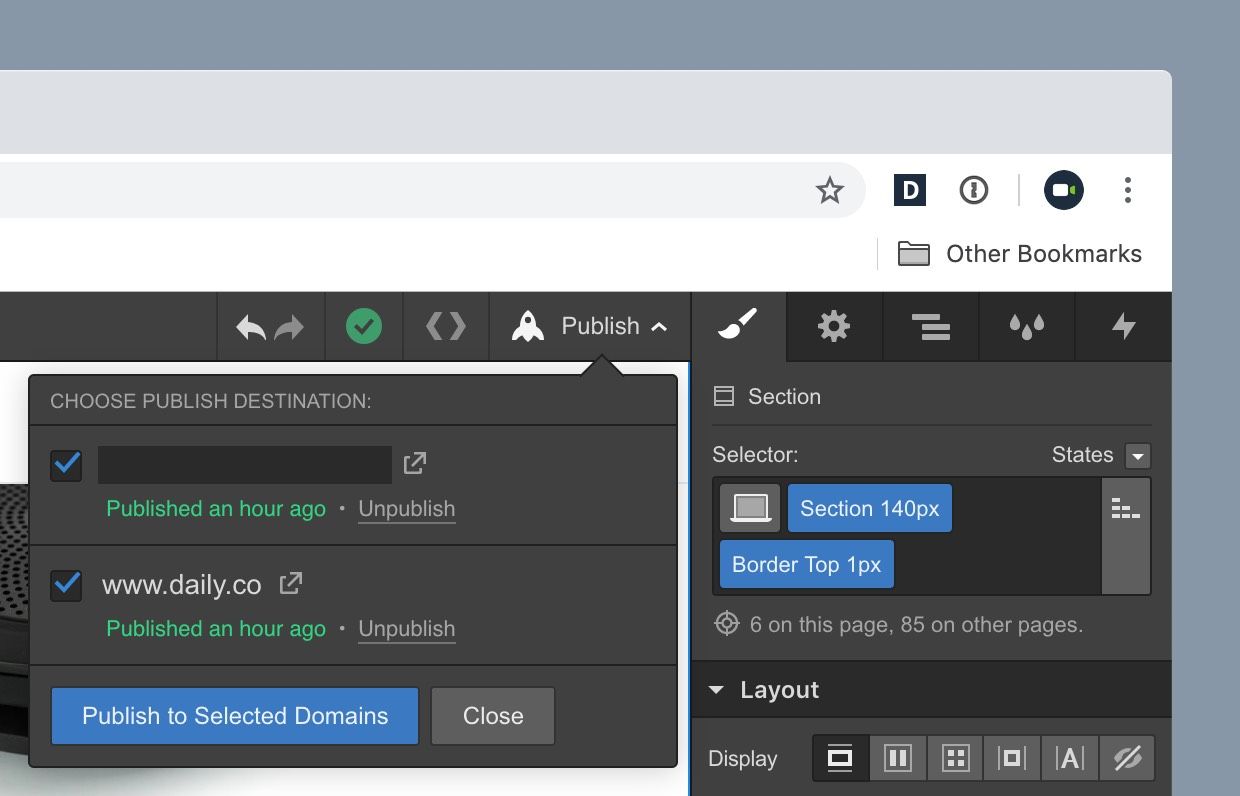
Updated, April 15, 2019: Publishing your site to Webflow is very simple. Wherever there is a publish button you can choose to push to a Webflow staging site or to a custom domain, if you've set one up.
Publishing CMS items is simple, too. But maybe too simple. If you select "Save as Draft" for a CMS item it will not be pushed to either of your sites. This is troublesome as the only way to QA a blog post — for example — outside of the CMS, is to set it to "Publish" and then push your site to staging. Our workflow looks like this for blog posts:
- Write post in the CMS
- Set post to "Publish"
- Push site to staging
- Change CMS item to "Save as Draft"
- QA on our staging site
The reason we change our CMS item to a " Save as Draft", after publishing to staging is so that we do not accidentally push in-progress work to production.
One last thought on publishing in Webflow. If you choose the "Unpublish" option, your site will be completely removed from that domain. I really wish that there was a warning here. It's very easy to accidentally remove your entire site from production (or staging) in one simple click.
Final thoughts
There’s much more to love about Webflow. The product truly shines because of their dedicated team, focus and community. Whenever a project calls for it, I look forward to jumping into Webflow! That says a lot to me about a product.
While there are some — as mentioned above — limitations, we've always been able to hack around them. I'm certain that as the tool evolves many of these issues will be resolved.
I hope this post has been helpful. Just note that some of the features listed above require an upgraded account, you can learn more about their pricing here.
Updates:
- Read about how we added code block and Markdown support
- Added thoughts on publishing and nested collection items, April 15, 2019
Never miss a story
Get the latest direct to your inbox.