


Daily Keyframes are byte-sized tips from our engineers. We hope they help you remove roadblocks so you can focus on building.
As you may already know, Daily makes it extremely easy to live stream your video or audio calls. You can stream via YouTube Live, and many other platforms, with just a few lines of code. Or, if you want the lowest possible latency, you can use Amazon IVS and have full control over the end-to-end experience.
But sometimes, especially for quick development feedback, it’s nice to run your own streaming server. Luckily for you, our diligent engineers have also made that as painless as possible.
Here’s what you’ll need:
- A server (can be your own computer) with a publicly accessible IP address (so that Daily’s servers can reach yours)*
- Docker (get it here)
- ngrok (optional: to make your local machine publicly accessible)*
*We’ll explain how to make it publicly accessible at the end.
We will be using the nginx-rtmp module via the nginx-rtmp-docker project for convenience.
Our live streaming engineering team has made this about as easy as it gets by creating a ready made Docker image (pluot/nginx-rtmp). You can take a look under-the-hood in the repo, or fork it and modify as you like.
To get up and running, assuming Docker is installed and ready to go, you just need to run the following command:
docker run \
 --rm -it \
 -p 1935:1935 \
 -p 9090:80 \
 --name nginx-rtmp \
 pluot/nginx-rtmp
Once this is running, you can stream to the server using OBS or our startLiveStreaming() API at the following url: rtmp://<your public ip>/live/<some stream name>.
Once you have a stream running to the server, you can access the stream from the server at:
-
RTMP:
rtmp://<your public ip>/live/<some stream name> -
HLS:
http://<your public ip>:9090/hls/<some stream name>.m3u8
If you are running this on your local machine you’ll need to make sure its IP is accessible on the public internet. Doing that without knowledge of your home network is beyond the scope of this post, but if you want to save yourself some trouble, we suggest using ngrok.
Assuming you have successfully installed ngrok, open up your config file (see here for help finding it) and add the following:
tunnels:
  rtmp:
    proto: tcp
    addr: 1935
  hls:
    proto: http
    addr: 9090
Save that, then run the following to open the tunnels:
ngrok start --all
If all went according to plan, you should see something like this:
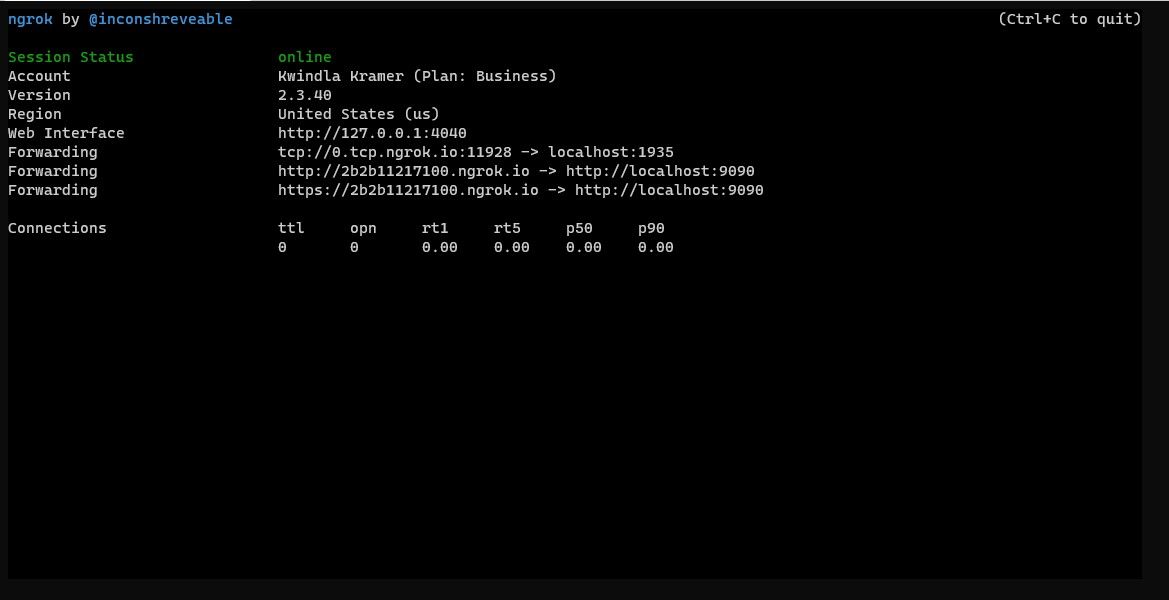
Similar to before, you can stream to the server at rtmp://your-ngrok-tcp-address:port/live/<some stream name>.
Once you have a stream running to the server, you can access the stream from the server (ex. using VLC to play your stream from either of these URLs) at:
-
RTMP:
rtmp://your-ngrok-tcp-address:port/live/<some stream name> -
HLS:
http://replaceme.ngrok.io/hls/<some stream name>.m3u8
Congratulations, you have successfully set up a streaming server for all your testing needs!
Never miss a story
Get the latest direct to your inbox.