

If you’ve been keeping an eye on Daily’s recent demos, you may have noticed we’ve been expanding which frontend frameworks we’re using in our demo code.
Our JavaScript library, daily-js, is compatible with any frontend framework, which means choosing your stack is really up to you. So far we’ve covered lots of React, Next, and Vue tutorials, which leaves a pretty exciting next choice…

Svelte! 🎉
In today’s tutorial, we’ll rebuild our Daily Prebuilt demo, already built in React and Vue, but this time with Svelte! ✨
Specifically, we’ll cover how to:
- Embed Daily Prebuilt in a Svelte app
- Handle updating your components based on whether you’ve joined a Daily call or not
- Manage your Daily Prebuilt call with a custom control panel
If you want to test the completed version of the demo first, check out the deployed version.
What exactly is Svelte?
Svelte is an open-source frontend component framework that can be used as an alternative to other frontend frameworks, like React or Vue.
It differs from other frameworks based on how it updates your app’s UI. Instead of using a virtual DOM to handle app changes (like React uses), Svelte is instead a compiler that converts app components to JavaScript and inserts any UI changes directly into the DOM itself.
Or, as the Svelte docs put it:
“Svelte runs at build time, converting your components into highly efficient imperative code that surgically updates the DOM. As a result, you're able to write ambitious applications with excellent performance characteristics.”
Who is this tutorial for?
Since this is a Svelte tutorial, the following content will be most helpful for anyone already familiar with Svelte. In case you’re not, we’ll do our best to explain what is unique to Svelte.
Thankfully, Svelte also has amazing documentation and interactive tutorials to learn the basics, and we highly recommend giving those a read!
Getting started
To get started locally, clone the Daily Prebuilt Svelte demo app and run the following commands in your terminal:
npm i
npm run dev
You will also need to create a Daily account and a new Daily room for testing the demo.
Note: The demo README includes additional instructions for creating new Daily rooms locally via the app.
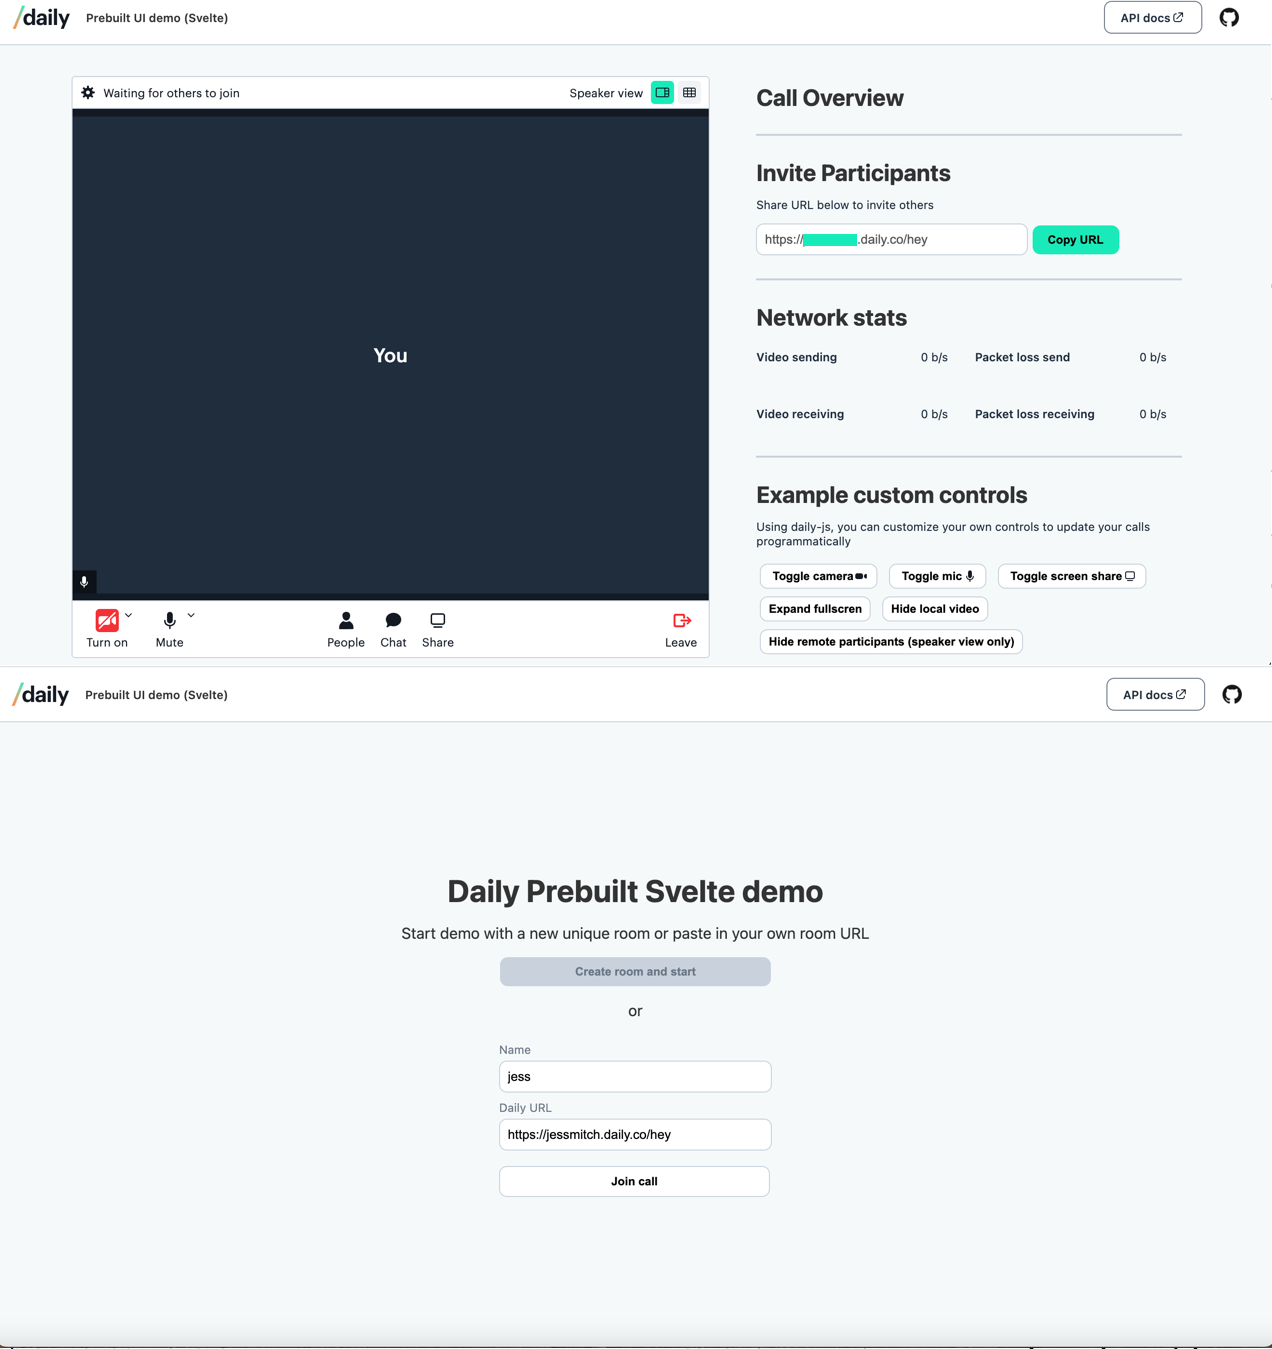
Once you have the app running locally, navigate to http://localhost:5000 in your browser of choice, and you should see the home page.

App.svelte: Determining which view to show
Our app is going to have two possible views:
- Our home page, which includes a form to join a call
- The call UI, which includes the Daily Prebuilt embed and our custom call controls
We know we'll need some logic to determine which view should show. To determine this, let’s take a look at our parent App component. App will handle deciding whether the Home or Call component is rendered.
<script>
 import Call from "./screens/Call.svelte";
 import Header from "./components/Header.svelte";
 import Home from "./screens/Home.svelte";

 let currentScreen = "home"; //  || 'call'
 let url;
 let userName;

 const handleJoinCall = ({ detail }) => {
   currentScreen = "call";
   // set component vars with form submission values
   url = detail.url;
   userName = detail.name;

   // save in local storage
   localStorage.setItem("svelte-prebuilt-url", url);
   localStorage.setItem("svelte-prebuilt-name", userName);
 };

 const handleLeaveCall = () => {
   currentScreen = "home";
 };
</script>

<svelte:head>
 <script crossorigin src="https://unpkg.com/@daily-co/daily-js"></script>
</svelte:head>

<div class="wrapper">
 <Header />
 {#if currentScreen === "home"}
   <Home on:submit={handleJoinCall} />
 {:else}
   <Call {userName} {url} on:left={handleLeaveCall} />
 {/if}
</div>
Let’s step through this:
- In the script tag, we start by importing the components we’ll be using (
Call,Home, andHeader) - Then, we declare variables that will be used in this component but are assigned later on.
- Next, we define
handleJoinCall, which we'll describe in more detail below. In short, it sets ourcurrentScreenvariable tocall. - We then define
handleLeaveCall, which simply resetscurrentScreentohome. - Lastly, we import our
daily-jsscript tag to make thedaily-jslibrary available to the rest of the app.
Now let’s specifically look at the markdown in App to see how we render our components:
<div class="wrapper">
 <Header />
 {#if currentScreen === "home"}
   <Home on:submit={handleJoinCall} />
 {:else}
   <Call {userName} {url} on:left={handleLeaveCall} />
 {/if}
</div>
In Svelte, you can conditionally render components based on your JavaScript values using an if statement.
We know we always want to render our Header, but we only want to render the Call component if the user is trying to join a call, i.e. the currentScreen equals call.
This is where we can use Svelte’s if syntax:
{#if currentScreen === "home"}to render theHomescreen{:else}we can show theCallcomponent.
And don’t forget to close your if block with {/if}
Listening for custom events
Another handy feature of Svelte is being able to dispatch custom events that can be forwarded to other components.
Since the Home component has a form to join calls, we want to call handleJoinCall (defined in App) when the form’s submit event is dispatched.
Similarly, when you’re in a call and go to leave the call, we want to listen for the custom left event we'll define in Call.
We handle both situations by adding a custom listener on each component, like so:
<Call on:left={handleLeaveCall} />Notice how it says on:left? This will listen for any left events dispatched. To listen to other custom events you've defined, you can just update the event name, such as on:fancy-event-name.
One other thing to note is being able to pass variables to child components. In Svelte, we can pass the userName and url values as props to the Call component like so:
<Call {userName} {url} />Note: Since the prop name and variable being passed use the same name, we can use the shorthand notation. That is to say, {url} is shorthand for url={url}.
These properties can then be made available in Call like so:
export let url;
export let userName;Honey, I’m Home.svelte
By default, App will render the Home component first.
Our Home component contains the main content for our app’s home screen. The code for it is a bit longer than App so we’ll look at the most important sections.
<script>
 import { createEventDispatcher, onMount } from "svelte";
 import api from "../api";

 const dispatch = createEventDispatcher();
...At the top of our component, we import Svelte’s createEventDispatcher method and assign it to the variable dispatch. This method is what we’ll use for dispatching our custom events discussed above.
Now let’s jump to our HTML and focus on the form.
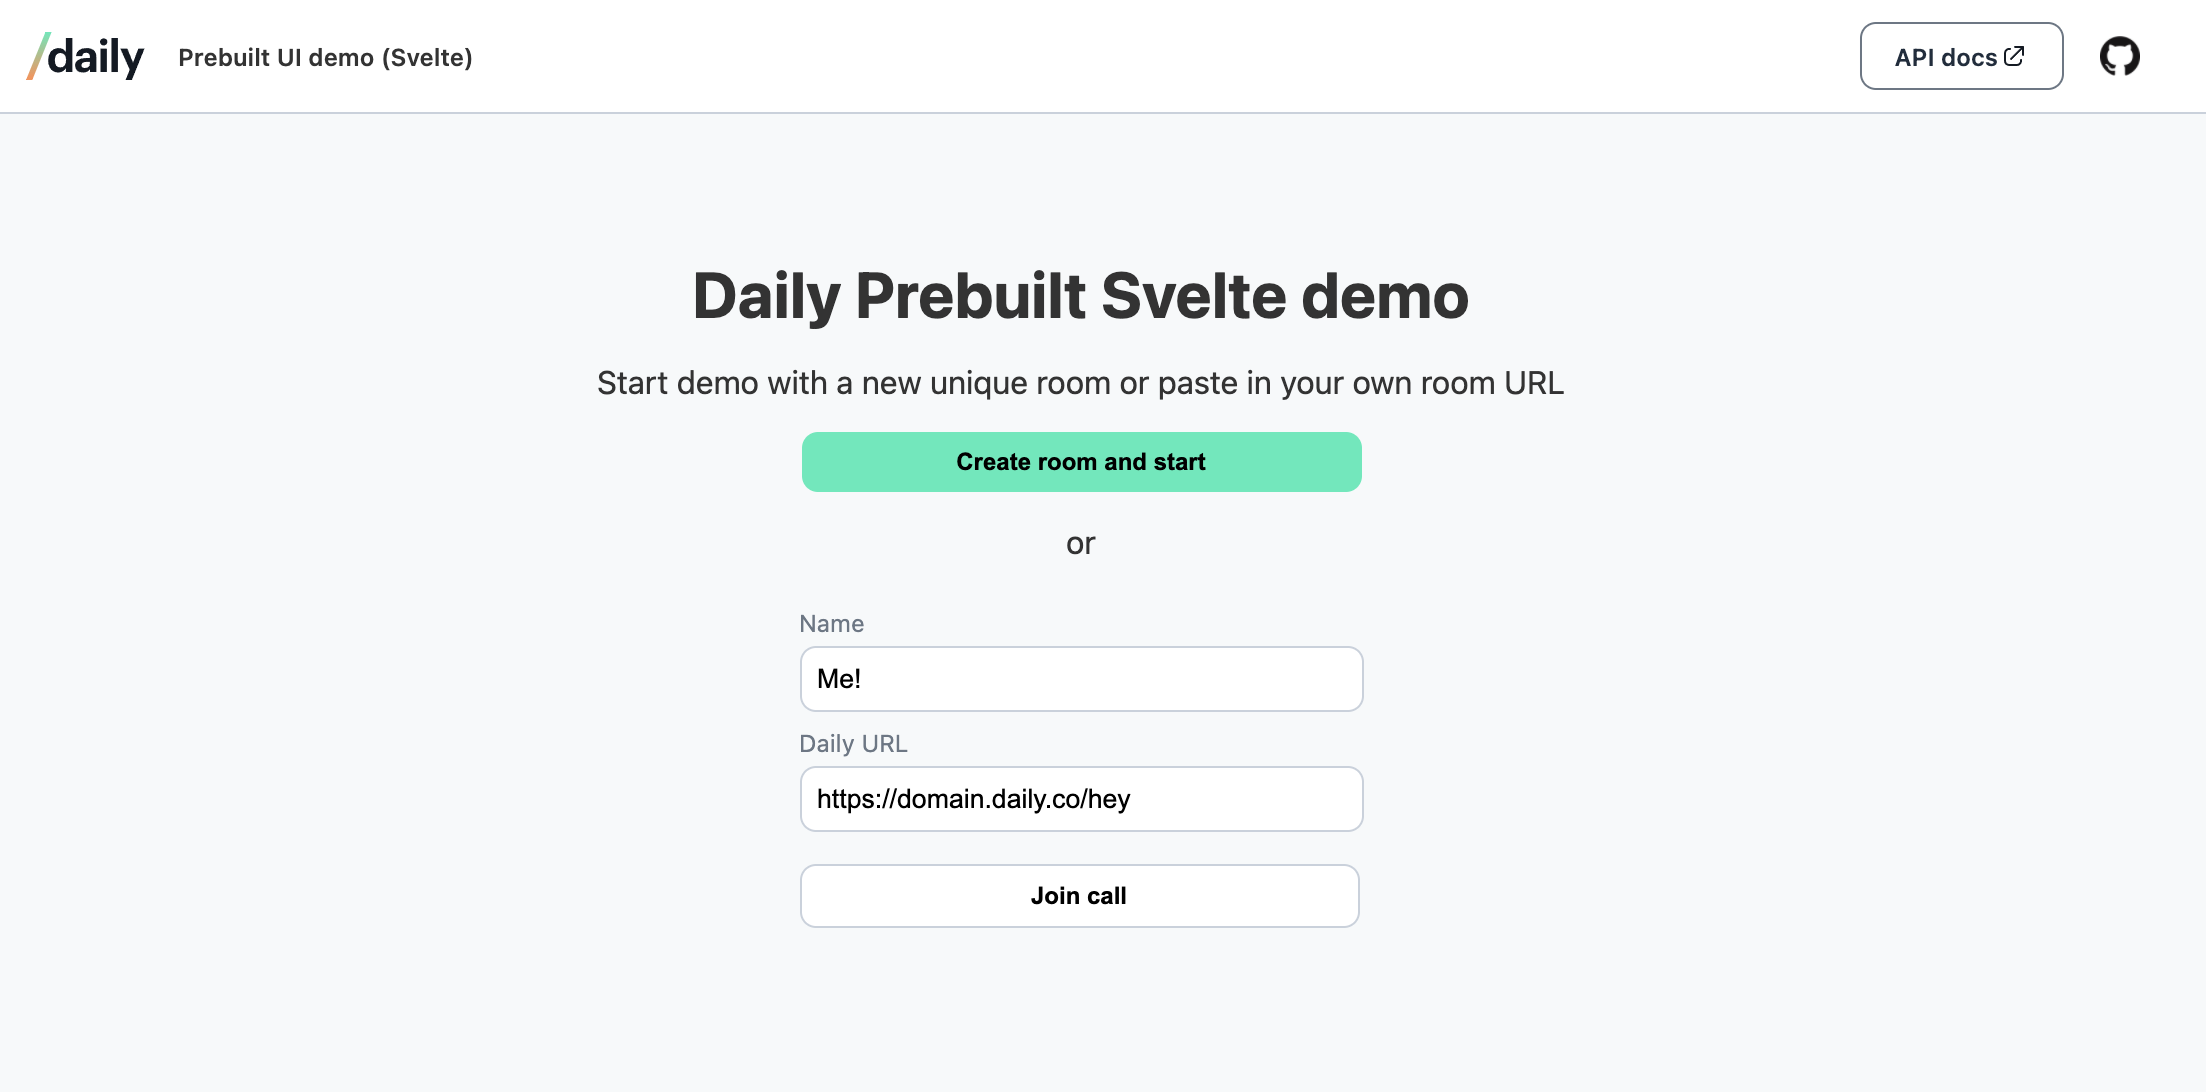
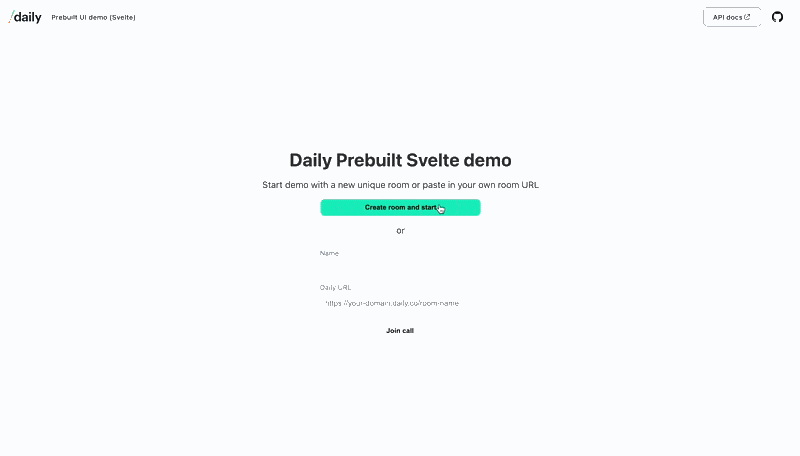
<div class="home-screen">
 <h2>Daily Prebuilt Svelte demo</h2>
 <p>Start demo with a new unique room or paste in your own room URL</p>
…
 <form on:submit={goToCall}>
   <label for="name">Name</label>
   <input id="name" type="text" required bind:value={name} />
   <label for="url">Daily URL</label>
   <input
     id="url"
     type="text"
     required
     bind:value={url}
     placeholder="https://your-domain.daily.co/room-name"
   />
   <input type="submit" value="Join call" />
 </form>
</div>Here, we have a native HTML <form> element with the submit handler using goToCall:
<form on:submit={goToCall}>
Note: This is not a custom event since forms have a native submit event.
The form has two inputs for a username and Daily room URL. To make each of these input values available in our component’s JavaScript, we can bind each value to a variable declared at the top of the component.
For example, the username input value will be bound to the variable name, which is declared at the top of the file:
<script>
   let name;
</script>

...
<form on:submit={goToCall}>
    ...
	<input id="name" type="text" required bind:value={name} />
    ...
</form>This means when the form’s submit event occurs and the goToCall method is called, we can use the input values via our bound variables (e.g name).
This also makes the input values available to forward to the App component via the dispatch method we defined before like so:
const goToCall = (e) => {
   e.preventDefault();

   dispatch("submit", {
     name,
     url,
   });
 };
In goToCall, we first prevent the form from refreshing the page with e.preventDefault().
Then we use our dispatch method to forward the submit event to our App component. Both name and url (our variables bound to the inputs) are passed as options to make those values available to App, as well.
If you recall from App, the Home component has an event listener on it for submit, which calls the handleJoinCall method.
<Home on:submit={handleJoinCall} />
When our dispatched submit event registers in App, it will call handleJoinCall.
 const handleJoinCall = ({ detail }) => {
   currentScreen = "call";
   // set component vars with form submission values
   url = detail.url;
   userName = detail.name;

   // save in local storage
   localStorage.setItem("svelte-prebuilt-url", url);
   localStorage.setItem("svelte-prebuilt-name", userName);

   error = null;
 };
In handleJoinCall we update currentScreen to equal call. This will cause the Call component to show instead of Home. We then set our url and userName variables to the values passed from the form and save them in local storage, as well.
Now that all the Home form's information is shared with App — who also shares it with Call — we can move on to setting up our call UI.
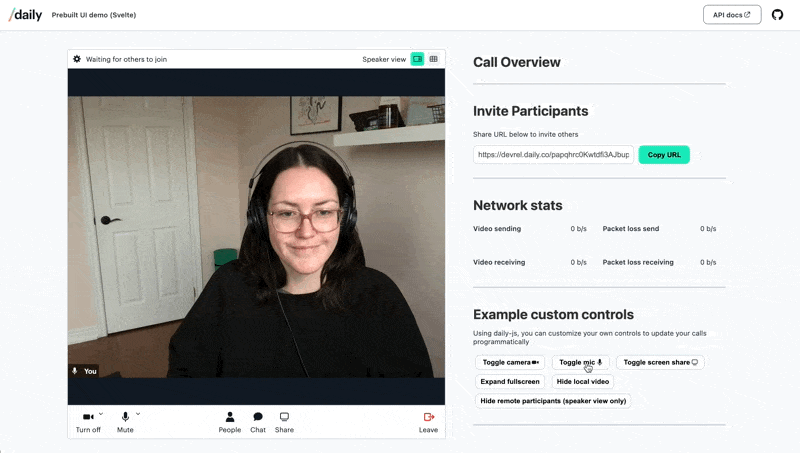
Call on line 1, please
So far we’ve set up our App component and our Home screen. Now let’s build our Daily call in Call.svelte.
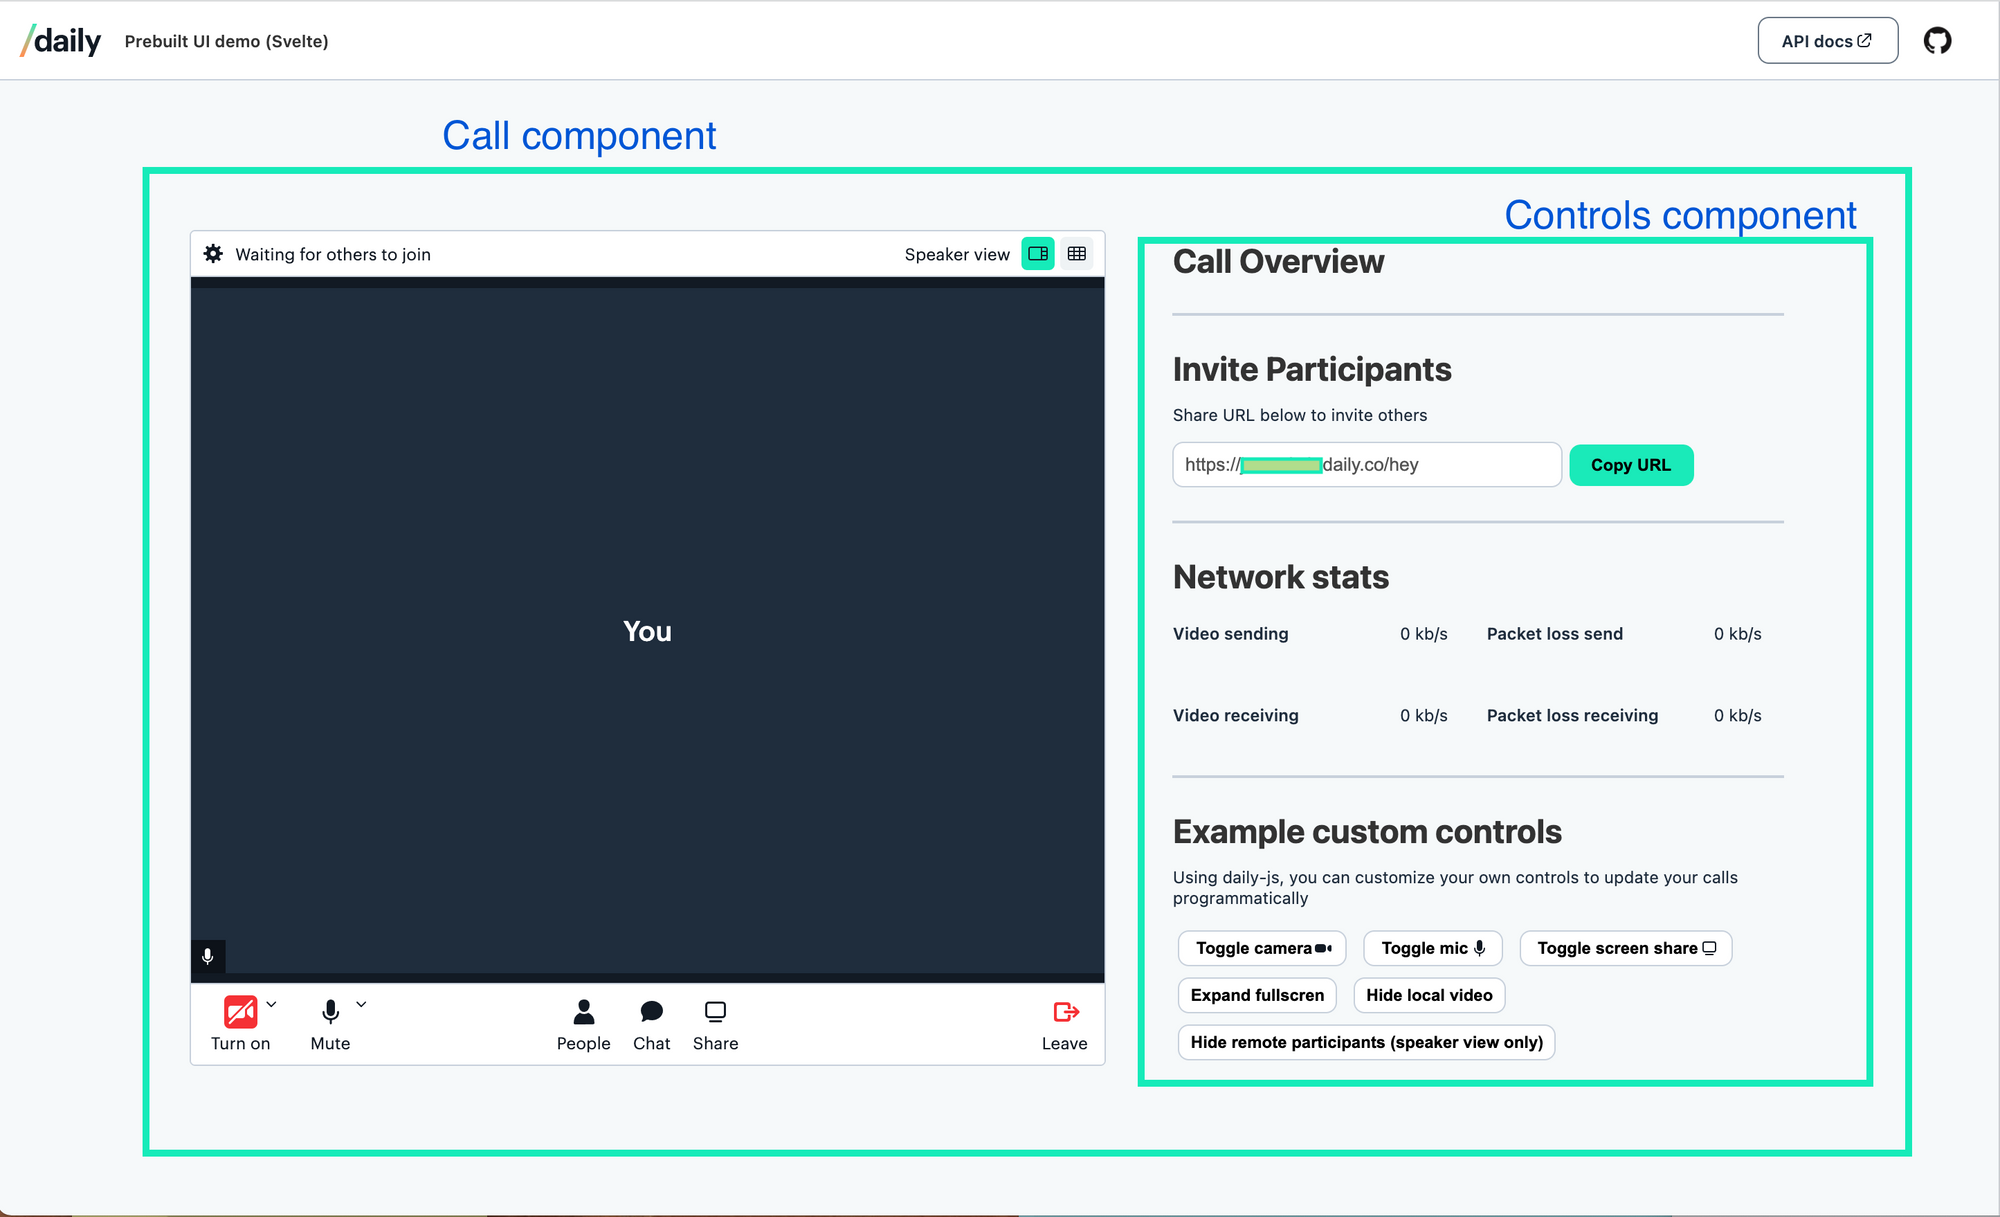
Call component, which includes Daily Prebuilt and the Controls componentLet’s start with the Call component's HTML markdown this time.
<div
 class={meetingState === "joined-meeting"
   ? "call-screen"
   : "call-screen prejoin"}
>
 <div id="container" />
 <Controls
   {url}
   {meetingState}
   {stats}
   on:toggle-camera={toggleCamera}
   on:toggle-mic={toggleMic}
   on:toggle-screen-share={toggleScreenShare}
   on:fullscreen={goFullscreen}
   on:toggle-local-video={toggleLocalVideo}
   on:toggle-remote-video={toggleRemoteVideo}
 />
</div>
We have a container div with two children:
- Another
div, which is where we’ll embed Daily Prebuilt - Our
Controlscomponent, which receives the roomurl,meetingState, and callstatsas props. It also has a list of custom event listeners added for each of the control’s buttons.
Let’s focus on the Daily call to start.
Embedding Daily Prebuilt in your Svelte app
Svelte has a handy onMount lifecycle method that gets called when the component is first rendered.
import { onMount } from "svelte";

onMount(() => {
   // assume if the Call component is showing, we should join
   initializeDaily();
 });
We know the Call component mounts when the form is submitted, so we want to initialize the call as soon as Call renders. We can do this by calling initializeDaily on mount.
 const initializeDaily = async () => {
   …
   // select container element to embed Daily iframe in
   const container = document.getElementById("container");
   // create Daily iframe
   callFrame = window.DailyIframe.createFrame(container, {
     iframeStyle: IFRAME_OPTIONS,
     showLeaveButton: true,
     url,
     userName,
   });

   callFrame.on("joining-meeting", updateMeetingState);
   callFrame.on("joined-meeting", updateMeetingState);
   callFrame.on("left-meeting", handleLeftMeeting);
   callFrame.on("error", updateMeetingState);

   // set up interval for retrieving current network stats
   interval = setInterval(() => getNetworkStats(), 5000);

   // let the local user join the call, which will cause
   // the call to be displayed in our app UI
   await callFrame.join();
 };
Stepping through this initializeDaily function:
- We first select our
divelement that will be the Daily Prebuilt iframe’s container:
const container = document.getElementById("container");
- Next we create our Daily Prebuilt iframe with the
createFramemethod viadaily-js, and pass the containerdivand some call options to it.
window.DailyIframe.createFrame(container, options)
Recall: window.DailyIframe exists because we imported the daily-js script in App.
- Next, we add some Daily event listeners so we can update our UI if the local user joins a call, leaves, or there’s a critical error. We’ll explain this a bit more below.
e.g. callFrame.on("joined-meeting", updateMeetingState);
- Then we set up an interval to get the call’s network stats every 5 seconds so we can display it in our
Controlpanel. (We won’t go into more detail about this, but ask us if you need help!)
interval = setInterval(() => getNetworkStats(), 5000);
- And, finally, we use Daily’s
joinmethod to actually join the call. 🎉
await callFrame.join();
Adding our custom control panel
As Bruce Springsteen once said, “Honey, I want the heart, I want the soul, I want control right now,” so let’s do just that and add a little more control to our app.
daily-js provides instance methods to programmatically do anything you can already do via Daily Prebuilt's UI. This gives a bit more flexibility to how you want to set up your own app’s UI.
For example, if you want to add a big “Mute” button to your UI, you can! Let’s take a look at how.
Adding a Mute button to toggle local audio
As mentioned, our Call component has a bunch of custom event listeners added to Controls. This means all the actual Daily logic can stay contained in our Call component. The Controls component is basically just UI to dispatch the custom events.
<Controls
   …
on:toggle-mic={toggleMic}In Controls, we have a button to mute the local user:
<button on:click={handleToggleMicClick}>
    <span>
    	Toggle mic
        <img src="/images/mic.svg" alt="Microphone" />
    </span>
</button>On click, this button calls handleToggleMicClick. That method will then dispatch our toggle-mic custom event:
const handleToggleMicClick = () => dispatch("toggle-mic");
Looping back to Call, the toggle-mic custom event that is forwarded calls toggleMic (on:toggle-mic={toggleMic}), a method defined in Call.
The toggleMic method is what contains our daily-js interaction.
const toggleMic = () => {
   if (!callFrame) {
     logError(noCallFrameError);
     return;
   }
   const localVideo = callFrame.localAudio();
   callFrame.setLocalAudio(!localVideo);
 };
If there is no Daily callFrame – defined in initializeDaily – we do nothing. This shouldn’t ever happen but, you know, bugs. 🐛
Next, we get our current local audio state (muted or unmuted) via the localAudio Daily method:
const localVideo = callFrame.localAudio();
Whatever the current value is, we want to make it the opposite. To do this, we can use the setLocalAudio instance method and set our local audio to the inverse boolean value.
callFrame.setLocalAudio(!localVideo);
Once that’s called, your unmuted audio will mute, or vice versa! 💪
We won’t cover all the buttons in the control panel since they all follow a similar pattern, but if you need help, please let us know! 🤗
Appetite for (call) destruction
To understand how the Daily event listeners work a bit more, let’s use the left-meeting event as an example.
In Call, we added an event listener for left-meeting, which calls a callback method (handleLeftMeeting) when triggered:
callFrame.on("left-meeting", handleLeftMeeting); // in initializeDaily()

 const handleLeftMeeting = (e) => {
   updateMeetingState(e);
   if (interval) clearInterval(interval);
   dispatch("left");
 };
The callback, handleLeftMeeting, gets called when the local user clicks the Leave button via Daily Prebuilt’s UI. It then dispatches a custom event (left) that App is listening for.
It does a couple other clean up tasks as well, but we won't worry about that for now. Essentially, it resets our app’s state.
If you recall, App has a listener on the Call component for a custom left event:
<Call {userName} {url} on:left={handleLeaveCall} />
handleLeaveCall gets called, which resets our currentScreen value to home:
const handleLeaveCall = () => currentScreen = "home";
Once currentScreen gets reset to home, App will render the Home component instead of Call.
We’ve come full circle back home! 🍩

Cleaning up after the party
Now that we have reset our state to get back to the home screen, we still have a little leftover clean up to do.
If you recall, we added some Daily event listeners to our callFrame.
As a final step, we can turn off those event listeners and destroy our Daily callFrame. It will be recreated when the next call is joined so we don't need it hanging around after leaving this call.
import { onDestroy } from "svelte";

onDestroy(() => {
    if (callFrame) {
      // remove event listeners
      callFrame.off("joining-meeting", updateMeetingState);
      callFrame.off("joined-meeting", updateMeetingState);
      callFrame.off("left-meeting", handleLeftMeeting);
      callFrame.off("error", handleError);

      // destroy Daily callframe after call ends
      callFrame.destroy();
    }
});Svelte provides an onDestroy lifecycle method that will be triggered when the Call component is destroyed.
In onDestroy, we can turn off our Daily event listeners and destroy the callFrame with Daily's destroy method.
Wrapping up
We hope this tutorial helps you get started with building your own Daily video apps in Svelte. To learn more about Daily Prebuilt, check out our other Daily Prebuilt blog posts.
If you’d like to build something more custom, keep an eye out on Twitter for our next Svelte tutorial! 👀
Never miss a story
Get the latest direct to your inbox.