This post is part three of a three-part series on how to build an Electron call overlay app using daily-js.
Introduction
In parts one and two of our Electron call overlay tutorial, we went through creating a full screen Electron app with Daily's call object. The app allows users to participate in a Daily video call and see all participants while also being able to interact with background applications.
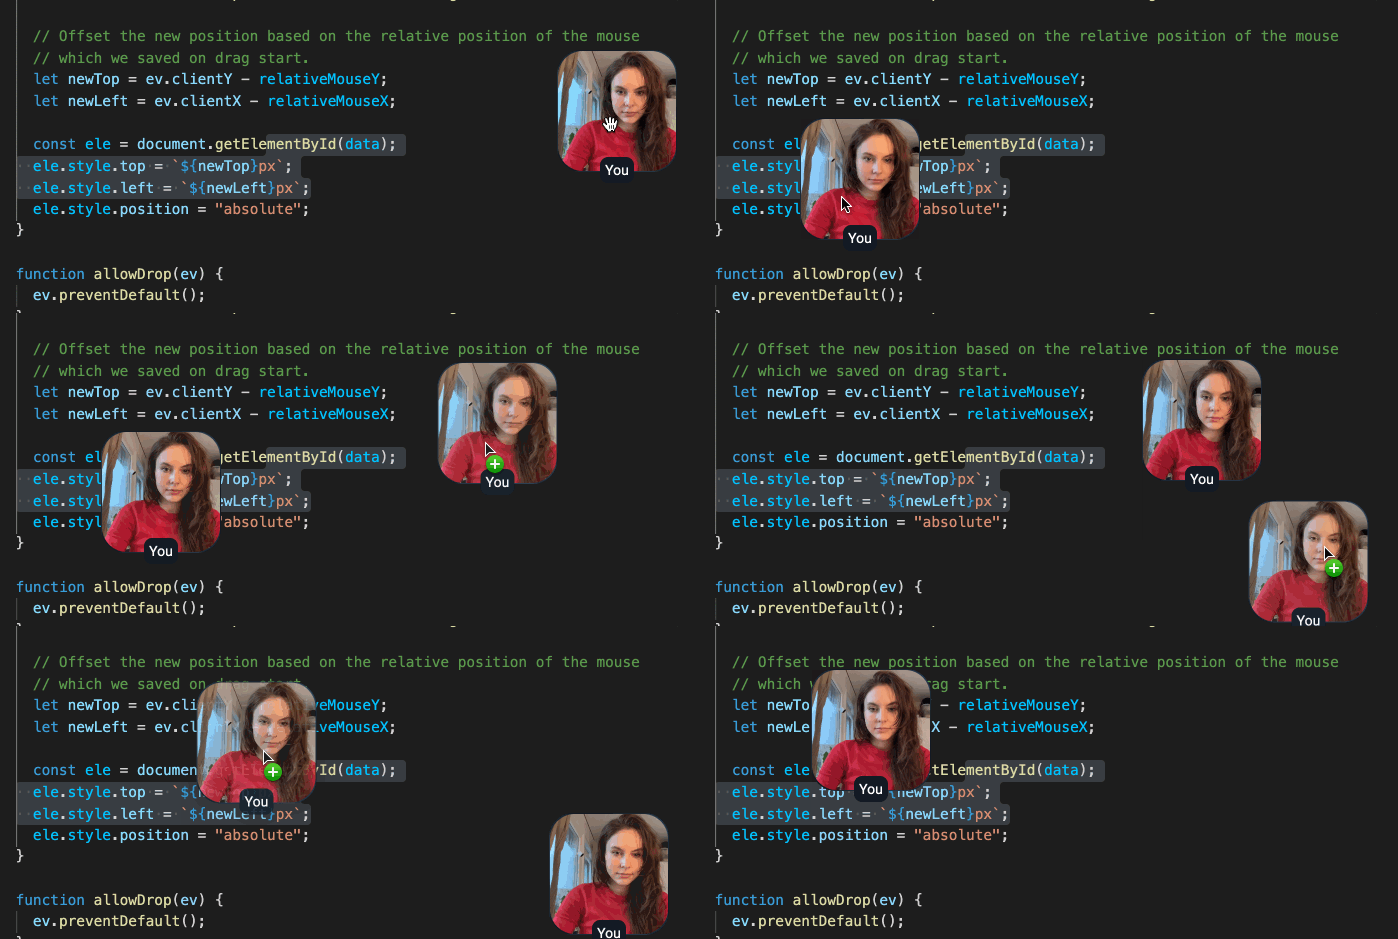
Next, we'll go through adding the ability for users to drag participant tiles and call controls wherever they want on the screen. This feature will allow users to position their participants in whatever way is most convenient for them and the other applications they may be using behind the call.
Getting started
If you haven't yet read parts one and two of this tutorial, we encourage you to do so. If you just want to see how you could implement drag-and-drop functionality with JavaScript part one isn't that important, but if you want to have the full context of the application we're building you'll get much of the necessary information in part one.
To clone and run Daily’s call overlay Electron demo, run the following commands in your terminal:
git clone git@github.com:daily-demos/electron-overlay.git
npm i && npm start
Making participants and controls draggable
The entire point of our call overlay application is to make it convenient for users to interact with background apps while in a call. They should be able to drag elements of the call around on their screen in a way that is most convenient for them. This is where our drag.js module comes in.
Remember that we gave our entire navigation and each participant tile the draggable property.
For every draggable element on the screen — the navigation, the local participant tile, and every remote participant we add — we call the exported setupDraggableElement() function in drag.js.
export function setupDraggableElement(element) {
  const dropSetupAttr = "dropSetupDone";
  if (!wrapper.getAttribute(dropSetupAttr)) {
    wrapper.addEventListener("drop", drop);
    wrapper.addEventListener("dragover", allowDrop);
    wrapper.setAttribute(dropSetupAttr, true);
  }
  element.addEventListener("dragstart", drag);
}
Above, the function checks if our main wrapper div has already been set up for drag/drop. If not, it adds event listeners for relevant drag operations on the wrapper. This should really only happen once, when we set up the first draggable element.
Then, we add an event listener for the "dragstart" event on the element that we want to be draggable.
Let’s go over the element’s "dragstart" handling first. When an element is dragged, drag() is called:
function drag(ev) {
  const target = ev.target;
  ev.dataTransfer.setData("targetID", target.id);

  // Save the relative position of the mouse in relation to the element, to make sure
  // we drop it with the right offset at the end.
  const rect = target.getBoundingClientRect();
  ev.dataTransfer.setData("relativeMouseX", ev.clientX - rect.left);
  ev.dataTransfer.setData("relativeMouseY", ev.clientY - rect.top);
}
Above, we get the target being dragged and store its ID. Then, we get the position of the mouse relative to the element and store that as well. As noted in the comment above, this is used to make sure that when we drop an element it doesn’t suddenly jump to a different position from what we expect. If you pick a participant tile up in the lower right hand corner, the tile should stay in exactly that spot when dropped.
Now for the wrapper listeners!
When an element is dragged over the wrapper, allowDrop() prevents the default handling from being used:
function  allowDrop(ev)  {
  ev.preventDefault();
}
When an element is dropped onto the wrapper, drop() is called:
function drop(ev) {
  ev.preventDefault();
  const data = ev.dataTransfer.getData("targetID");
  const relativeMouseX = ev.dataTransfer.getData("relativeMouseX");
  const relativeMouseY = ev.dataTransfer.getData("relativeMouseY");

  // Offset the new position based on the relative position of the mouse
  // which we saved on drag start.
  let newTop = ev.clientY - relativeMouseY;
  let newLeft = ev.clientX - relativeMouseX;

  const ele = document.getElementById(data);
  ele.style.top = `${newTop}px`;
  ele.style.left = `${newLeft}px`;
  ele.style.position = "absolute";
}
On drop, we retrieve the ID of the element we were just dragging and the relative position of the mouse to that element. As you might remember, we stored this information on drag start. We retrieve the element via document.getElementById() and set its position to the new location. Voila! Our participant tile is now in another part of the screen.

Next steps
Now that we have an Electron and Daily app with draggable elements, we can develop this app further. For example, you can try the following:
- Experiment with limiting how many participant tiles show up by default on the user’s screen (we don’t want to crowd their desktop if the point is to use other apps at the same time!)
- Have a dedicated tile to show the currently speaking user
- Make sure new participants can never join with their tiles overlapping existing participants
- Allow a user to reset/tidy the tile layout
- Add screen sharing support
- Allow the user to resize participant tiles (maybe they want to maximize someone’s tile if they’re screen-sharing?)
- Experiment with using a face detection library to detect faces in Daily’s video track and have the tile center on the user’s face!
We also suggest reviewing your error handling and adding proper logging, metrics, etc if you decide to deploy something like this to production.

