


This post is part two of a series on how to build a custom React video chat app using Daily's real time video and audio APIs, and Daily’s custom React hooks library, Daily React Hooks.
In the previous post, we covered the basics of a custom video application:
- creating rooms using the Daily API
- building a call user interface and control tray
- error handling
The code for that version of our app can be found under the v1.0 tag in the GitHub repository.
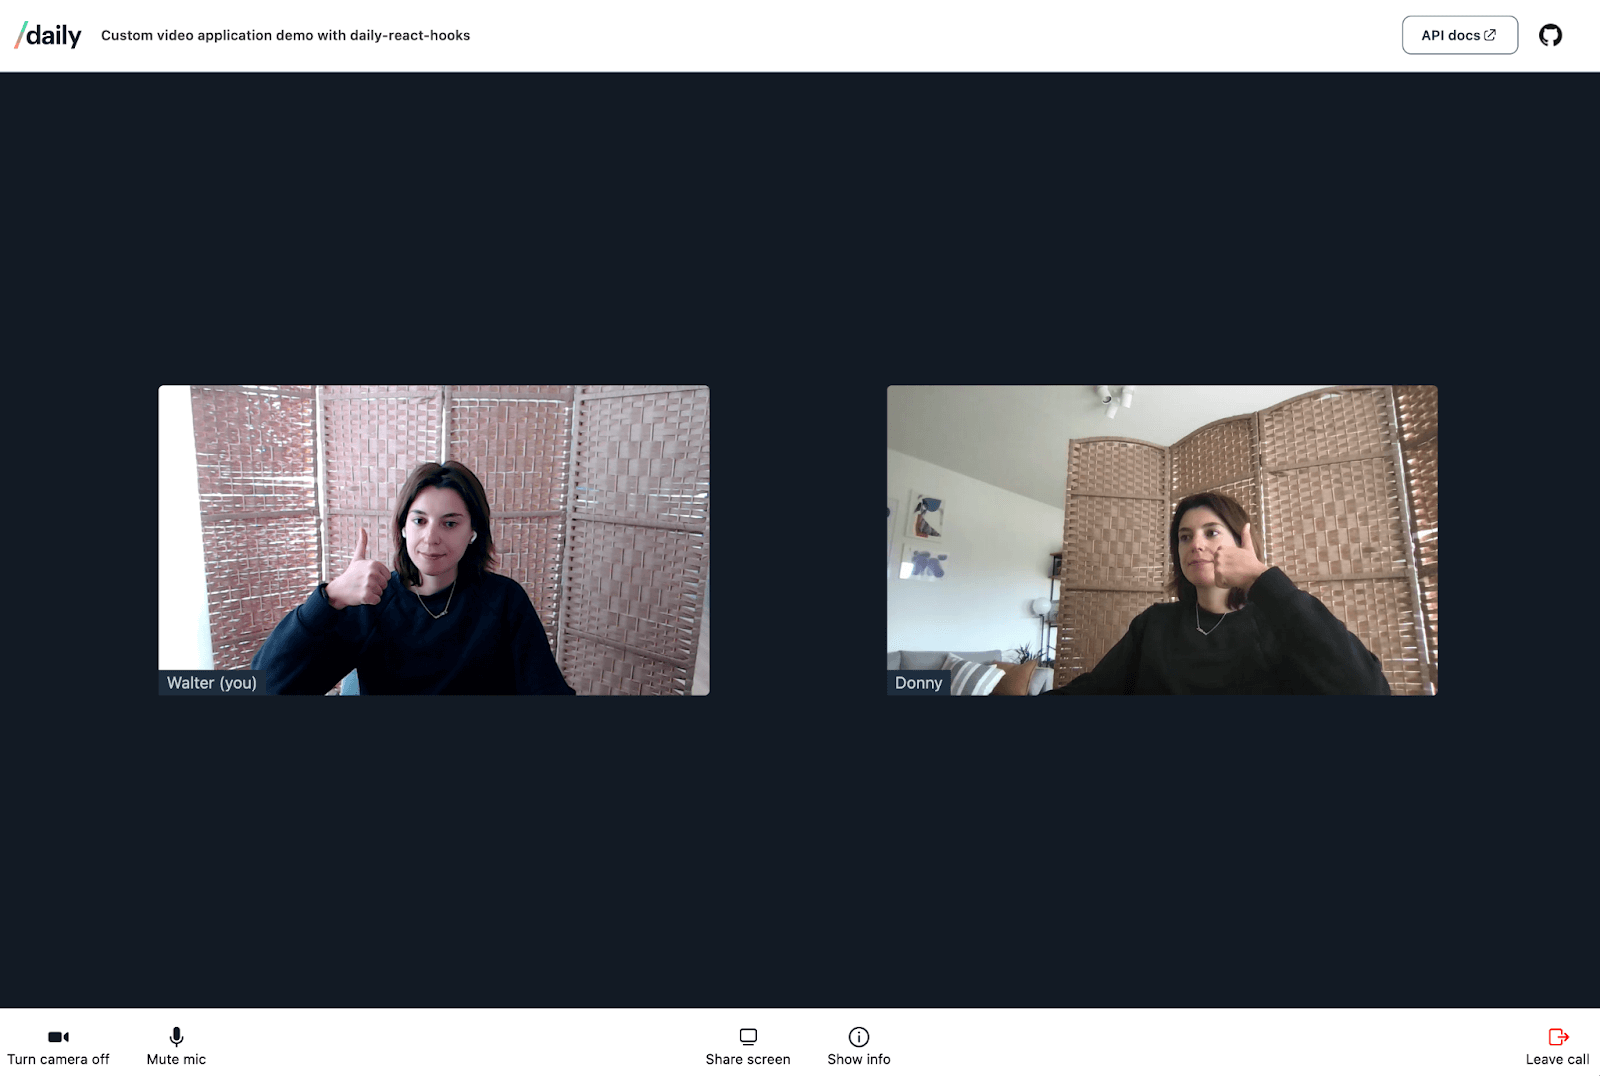
In this post, we’ll be adding a new feature to our application: a prejoin UI (or, as we at Daily call it, a hair check). The prejoin UI allows participants to preview their video before joining, as well as select their preferred devices (camera and microphone), and set their username. At the end of this post, our app will look like this:
What's the plan?
We already have a working custom video application, as demoed in the first part of this series. We’re going to need to make some changes to our current application’s flow. Instead of joining the call immediately when clicking the “Click to start a call” button, we’re going to add another step prior to joining the call. Using the preAuth() and startCamera() daily-js methods, we’ll be able to authenticate ourselves, see ourselves on the screen, and select our devices without having to join the video call first.
First, we’ll make these flow changes to our app. Then, we’ll look into the features of a prejoin UI, and implement those in a new <HairCheck/> component. To do that, we’ll again be using the Daily React Hooks library extensively.
If you’re curious what a video app with a prejoin UI without hooks looks like, make sure to check out our earlier blog post on how to build your own prejoin UI in a Daily video chat app in Notion.
To follow along with the rest of the post, we’ll assume you’ve followed the set-up steps in part one. All the code relevant to the first post can be found in the v1.0 tag, and the code we’ll be writing in this post can be found in v2.0. Make sure you’re checking out the correct tag, and that your local copy of the custom-video-daily-react-hooks GitHub repository is up-to-date.
Our app's flow
Our demo in its v1.0 state kicks off when you click the “Click to start a call” button in the <HomeScreen/> component:

When you click this button, the following happens:
- A new room is created by calling the
createRoom()endpoint. - When the room creation is successful, we create a new
callObjectinstartJoiningCall(). We use the URL returned from thecreateRoom()endpoint to join the call. - As soon as we’re in the call, we render the
<Call/>component, showing our self view, and other participants.
Adding a prejoin UI to the mix means adding some extra steps. Here’s what our app needs to do when the “Click to start a call” button is clicked:
- A new room still needs to be created — this step remains the same. We also still need to create the
callObjectas our main interface into Daily functionality. - When the room creation is successful and we have a
callObject, we won’tjoin()the room: instead, we’ll use thepreAuth()method to get into our haircheck state, and thestartCamera()method to make the local participant’s devices available before joining the call. We’ll go into more detail about the difference betweenjoin()andpreAuth()below. - Once we’re in the haircheck UI, we need to be able to join the call, but we also need to be able to cancel the join flow.
join() and preAuth()
In the v1.0 version of our app, we’re calling the join() method on the call object in this section of the code. When this join({ url }) method is called by a participant, they’ll immediately, uh, join the room that’s specified by the url. They enter the call straight away after clicking the button.
In our prejoin UI, we want to intercept this step. Instead of joining the call with whatever username the participant has and whatever input devices are selected by default, we want to give them the opportunity to set their own username and choose their own devices.
This means that in our first version of App.js, we need to change our startJoiningCall() function. When a user clicks on the “Click to start a call” button, we’ll be invoking a new, yet-to-be-created function: startHairCheck(). We’ll move the creation of the call object to this function, but instead of joining, we’ll use preAuth() to get access to the call without actually joining, and startCamera() to get access to the user’s devices. We’ll go into much more detail below, but the git diff can be found here if you want to see the code changes.
When the user is done setting their username and choosing their input devices, we can call the join() method and go join the actual meeting.
As an aside: we don’t have to use preAuth() in this particular demonstration. preAuth() initiates a room check to determine the participant’s access level before attempting to join a room. In our demo, rooms are assumed to be always open, so we don’t actually need to worry about checking if a participant has access or not. Since rooms are assumed public, the following tutorial does not cover the broader “lobby” functionality that Daily Prebuilt’s prejoin UI does, where participants can request access to a call.
In real world scenarios however, you’ll probably use private rooms in your app. That’s why we left preAuth() in! If you’re interested in learning more about controlling meeting access and selectively adding participants, check out this blog post about building a call lobby.
Adding a new view to our app
Now that we have a clear idea of what to do, we can start writing some actual code. 💃
Let’s start with some changes to our entry component, App.js. At this point, our app has three possible views:<HomeScreen/>, <Call/>, and an error message when there’s a problem with our API.
We’re going to add the prejoin UI as a fourth view. To do this, we have to add a new state to our appState:
const STATE_HAIRCHECK = 'STATE_HAIRCHECK';
We’ll set the appState to STATE_HAIRCHECK in a new function called startHairCheck():
const startHairCheck = useCallback(async (url) => {
    const newCallObject = DailyIframe.createCallObject();
    setRoomUrl(url);
    setCallObject(newCallObject);
    setAppState(STATE_HAIRCHECK); // ← setting the new app state!
    await newCallObject.preAuth({ url }); // add a meeting token here if your room is private: https://docs.daily.co/guides/configurations-and-settings/controlling-who-joins-a-meeting#meeting-tokens
    await newCallObject.startCamera();
  }, []);
This function is really similar to the startJoiningCall() function in v1.0. The big difference is that we’re not joining the call just yet at the end. We’ll move that to a new function, joinCall():
const joinCall = useCallback(() => {
 callObject.join({ url: roomUrl });
}, [callObject, roomUrl]);
This function will be invoked in our new <HairCheck/> component when the participant indicates they’re ready to join the call.
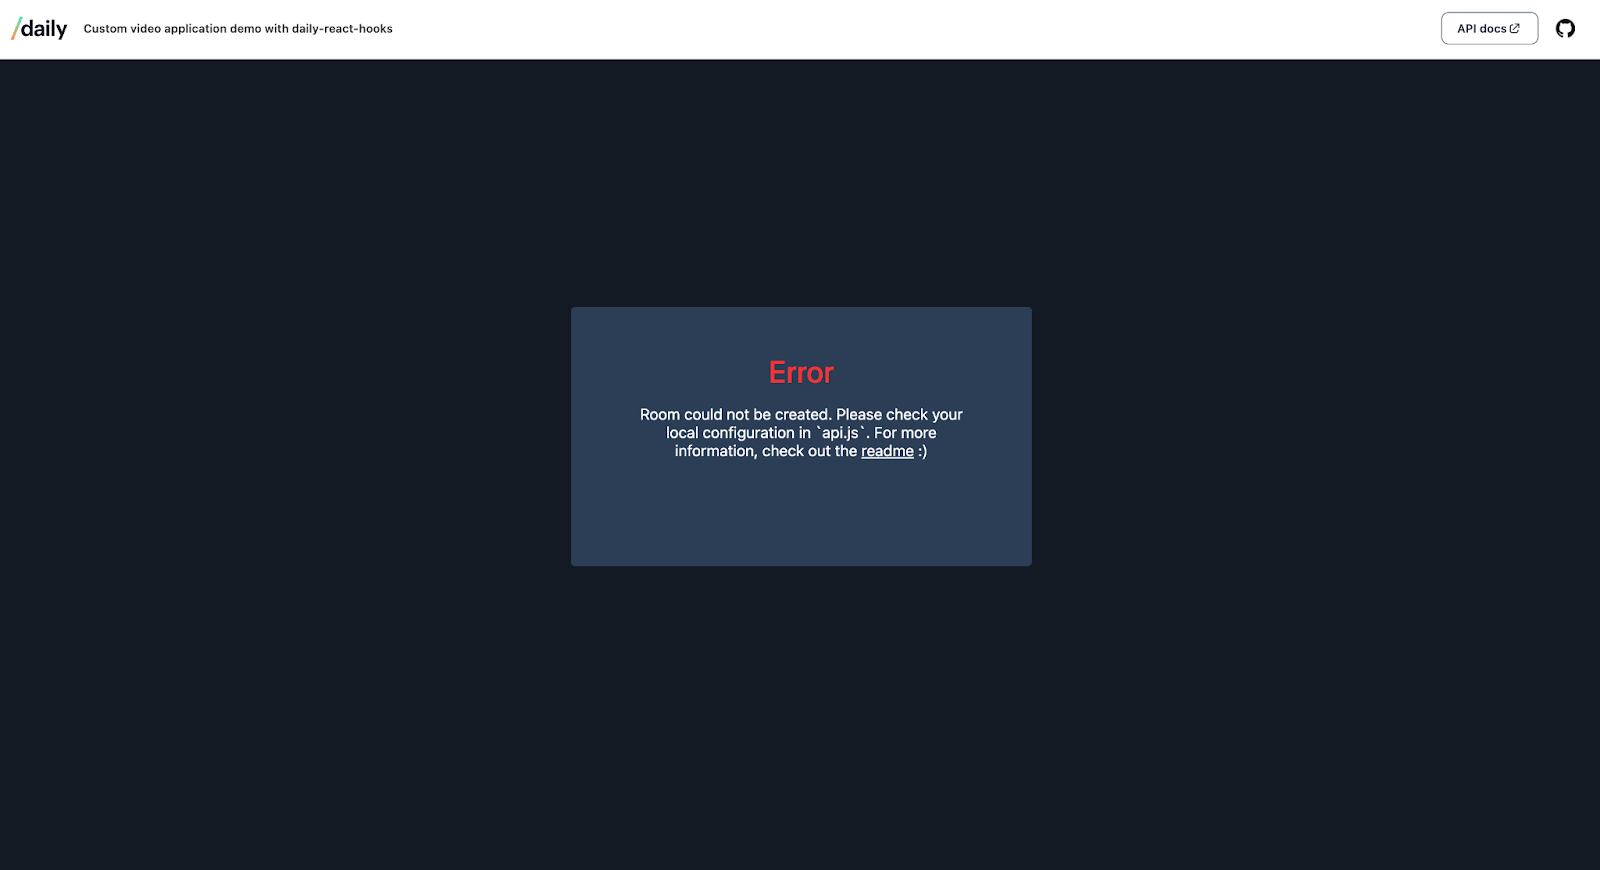
Deciding which view to render is done in a new function, renderApp(). By default it returns <HomeScreen/>, because that’s our app’s starting point. If there is a problem creating a room when clicking “Click to start a call”, we’ll show an error message:
Once “Click to start a call” is clicked, we move on to the prejoin UI by calling startHairCheck(). We’ll create our call object here – recall that is our main interface into the Daily API – and set the view to <HairCheck/>. We’re going to wrap <HairCheck/> in a DailyProvider just like we did with <Call/> in our initial implementation. This allows us to later access the call object we just created in startHairCheck() from within the <HairCheck/> component using the Daily React Hooks library.
With these adjustments to our app’s flow done, we’re now ready to take a closer look at the <HairCheck/> component.
The prejoin UI should solve some of the most common problems in video calling, like finding out halfway through the call you’ve got spinach stuck in your teeth, or having the wrong microphone selected. Giving participants the option to set themselves up before joining a call helps reduce a lot of in-call confusion or disruption. With that in mind, we can list the features of our <HairCheck/> component:
- Participants need to be able to set their username for the call.
- Participants need to be able to select which camera, speakers, and microphone they want used in the call before joining.
- Since this is a demo app with reduced scope, we won’t worry about adding buttons to turn video and audio on/off prior to joining the call for now. This is a great feature to include in production apps, though!
- Participants should be allowed to either join the call, or not join the call, from the prejoin UI. In other words, there should be a way to cancel the join flow.
We can use Daily React Hooks to take care of all of the above, without having to keep track of the app’s state ourselves. For example, we won’t need to set the output device selected in the prejoin UI in our app’s React state to use it in the call later on: the library will take care of that for us.
Usernames
Let’s start with setting a username. We’ll use the daily-js method setUserName(). We need to invoke this method on the call object, and since we’ve wrapped our <HairCheck/> component inside a DailyProvider, we can access the call object with the nifty useDaily() hook. We can also access the local participant with the useLocalParticipant() hook.
const callObject = useDaily();
const localParticipant = useLocalParticipant();

const onChange = (e) => {
  callObject.setUserName(e.target.value);
};

<label htmlFor="username">Your name:</label>
<input
  name="username"
  type="text"
  placeholder="Enter username"
  onChange={(e) => onChange(e)}
  value={localParticipant?.user_name || ' '}
/>
There’s no need to save the participant’s user name with React’s useState() hook. As soon as the value in the input field changes, the name is “saved” to the call object and will remain saved during the entire lifetime of the call object.
To show the username during the call, we’ll make a small change in the <Call/> and <Tile/> components as well:
// Call.js
// {Video element goes here}
<div className="username">
  {localParticipant?.user_name || localParticipant?.user_id} (you)
</div>
And in Tile.js:
// {Video element goes here}
// {Audio element goes here}
<div className="username">
  {participant?.user_name || participant?.user_id}
</div>
Having usernames will come in handy in the third part of this series, where we’ll be adding participant chat to our app!
Selecting devices
Let’s continue on to selecting devices. Daily React Hooks has a super helpful hook that will allow us to retrieve information about the user’s devices. It also comes with a bunch of helper methods to set devices. It’s called useDevices() and we’ll be using it extensively in the <HairCheck/> component.
We’ll start with retrieving the user’s devices. The web API enumerateDevices() returns the user’s media input and output devices available to our app. This method is invoked under the hood inside Daily React Hooks when we use useDevices():
const { cameras } = useDevices();

<ul>
  {cameras?.map((camera) => (
    <li>
      {camera.device.label}
    </li>
   ))}
</ul>
The above will return an unordered list of all the [videoinput]s (that is, webcams) the browser was able to find.
The hook will also return two other pieces of pertinent information: the device’s state, and whether it’s selected or not.
But where does the hook get that device information from?
When <HairCheck/> is loaded, startCamera() is fired. This is a daily-js wrapper around getUserMedia(), the web API that requests browser access to your video and audio devices. When you allow access to your webcam, your browser will use that device in the app. If you have multiple webcams, the camera you gave access to during the browser prompt when it executed getUserMedia() is the one that will be ”selected” in our <HairCheck/> component.
As an aside: just because a device is selected doesn’t necessarily mean it’s available. Your camera could be in use by another app, like Skype. This can pose problems on, for example, Windows machines. Check out our guide on handling device permissions for more information, and how to solve that particular problem.
To summarize, the useDevices() hook will give us all the information we need about a participant's media devices and their states.
Now that we have information on the available devices, we need to do something with it. Selecting an input device is mostly the same process for cameras, microphones or speakers, so let’s focus on cameras. We want to show users a <select> dropdown of their available webcams, and we want them to be able to set their chosen webcam for use during the call:
const { cameras, setCamera } = useDevices();

const updateCamera = (e) => {
  setCamera(e.target.value);
};

   {/*Camera select*/}
<div>
<label htmlFor="cameraOptions">Camera:</label>
<select
  name="cameraOptions"
  id="cameraSelect"
  onChange={updateCamera}>
  {cameras?.map((camera) => (
    <option
      key={`cam-${camera.device.deviceId}`}
      value={camera.device.deviceId}>
      {camera.device.label}
    </option>
  ))}
</select>
</div>
The camera dropdown will look like this:

When a user selects a different device from their default one, getUserMedia() is called again under the hood. The component will re-render, and the newly selected device will now be set as the one to be used during the call. Make sure that you’re using the deviceId as the value in the <option> element – this is the unique identifier that’s used to differentiate between devices. For example, using camera.device.label as the option’s value in the above example will not work.
Video preview
But how do we display a preview of the user, so they can actually check their hair and whether their webcam is working correctly? We’ll use the same techniques as we did in the first part of this series, where we display the video of the local participant in the call. We can use the useLocalParticipant() and useVideoTrack() hooks again:
// HairCheck.js
const localParticipant = useLocalParticipant();
const videoTrack = useVideoTrack(localParticipant?.session_id);

useEffect(() => {
if (!videoTrack.persistentTrack) return;
videoElement?.current &&
  (videoElement.current.srcObject =
    videoTrack.persistentTrack &&
    new MediaStream([videoTrack?.persistentTrack]));
}, [videoTrack.persistentTrack]);

// The element we'll be eventually rendering
{videoTrack?.persistentTrack &&
  <video autoPlay muted playsInline ref={videoElement} />
}
When a different camera is selected, the persistentTrack on the videoTrack will change, kicking off the useEffect() hook, and our local video view will change ✨ automagically ✨. Again, no need to save anything to React’s local state!
Make sure to take a look at the full code in HairCheck.js to see how the microphone and speakers are handled.
Stay or go?
Our final task is to allow the participant to join the call, or leave the prejoin flow entirely. We’ll need two buttons:
<button onClick={join} type="submit">
  Join call
</button>

<button onClick={cancelCall}>
  Back to start
</button>
Two functions are passed as props to <HairCheck/>: joinCall and cancelCall. When the “Join call” button is clicked, all we do is prevent the default behavior of the form that contains the button, and run joinCall() as we defined it earlier in App.js.
cancelCall is also a prop and invokes startLeavingCall() defined in App.js. We destroy the call object and clean up our app’s state. This will return the user to the demo’s home screen, ready to start over again:
Error handling
Before we wrap up, let’s take a quick look at how to handle errors in the HairCheck component. Imagine that a user has said “no” to the browser prompt asking for device permissions. This means that getUserMedia() and enumerateDevices() won’t work. We won’t have a self view video to show the user, nor can we render a list of their available devices.
What we can do however, is apply the same tactics as we did in part one in the series: listen for an event, and do something when it occurs.
When useDevices() is called and it’s not able to get a list of the available devices, a ”camera-error” event is emitted. We can use the useDailyEvent hook to listen for this event, and set an error state when it happens:
const [getUserMediaError, setGetUserMediaError] = useState(false);

useDailyEvent(
 'camera-error',
 useCallback(() => {
   setGetUserMediaError(true);
 }, []),
);
We’re doing the exact same thing in Call.js. Extracting this functionality into a reusable component will be left as an exercise for the reader. 🤓
Wrapping up
Now that we know how to add a prejoin UI to a Daily custom video app, the UI and additional features can be customized as much as you’d like. As mentioned before, this demo does not accommodate private room access management, so make sure to keep that in mind.
To learn more about prejoin UI or to get inspired by additional features you can add to it, check out Daily Prebuilt and be sure to turn on the prejoin UI feature through the Daily dashboard.
For the third and final post in this series, we’ll be adding chat for call participants to our app. Having usernames ready means we’re off to a flying start 🚀. Stay tuned!
Never miss a story
Get the latest direct to your inbox.