

One of our main goals at Daily is to help developers build world-class communications experiences. We’ve built our APIs to be flexible, which means developers can choose which features and products they want to integrate without having to compromise.
In today’s post, we’ll take a look at CometChat, a third-party chat API that offers a comprehensive list of products and extensions to build an enriched chat experience in your app.
Read our announcement post about Daily's partnership with CometChat.
We’re excited how this partnership expands our support for developers implementing chat. If you want to quickly enable chat, Daily offers prebuilt and customizable chat options for our various client SDKs. (This lets you build a custom UI and is HIPAA compliant by default.) If you need advanced features, like file or document sharing, a third-party component like CometChat may better support your goals.
Let’s take a look at how easily CometChat can be integrated into a Daily video app.
Use cases for enriched chat in a video call
Video calls are crucial for a number of different use cases, such as connecting people in e-learning, fitness, healthcare apps, and more.
With e-learning (or “ed-tech”), for example, video calls can be quickly enhanced with features like file sharing, whiteboarding, live transcription, breakout rooms for group projects, different authentication roles (like teacher vs student), and more.
All of these features are either already offered by Daily or can be incorporated into Daily apps. However, the benefit of adding them via third-party APIs like CometChat is that many of these features are already built into the chat widget for you. (Why build it yourself if you can use an existing solution?)
CometChat conveniently provides several extensions that allow you to turn on features like collaborative documents, white boarding, transcription, and more.
Let’s take advantage of these available and see how easily we can add all these new features to a Daily video app.
Today’s coding goals
Today, we will be updating the Daily React Hooks custom video app. This app has a completely custom UI built with Daily’s APIs and includes features such as:
- Multi-participant video calls
- Screen sharing
- Custom chat for participants to message each other
- Pre-join UI to test devices before joining the call
From a technical perspective, in today’s tutorial, we will:
- Swap out the custom Daily chat UI with CometChat’s chat widget.
This will require us to:
- Include CometChat in our project
- Create a new CometChat user and group
- Launch the widget in our app
- Turn on some extra CometChat extensions to explore CometChat’s feature options. We'll see how those features can support different video call use cases.

Now that we have a plan, let’s get started!
Requirements
The CometChat chat widget can be incorporated into any Daily app. In addition to the chat widget, CometChat offers UI Kits for various frameworks and platforms, as well as client SDKs that let you build your own custom chat UIs, which are also compatible with Daily.
In this tutorial, we will focus on embedding the chat widget in our React demo app. You don't need to know React to build with Daily or CometChat, but our code examples today will require some React knowledge.
You can use the main branch to follow along with adding this feature, or skip to the finished version of the code we’ll be adding, which is available on the comet-chat-integration branch.
Getting set up locally
To build an app with Daily and CometChat, you’ll first need to create an account for both.
For a Daily account, visit the Daily dashboard.
For CometChat, visit their signup page.
To run the demo app locally, follow the instructions in the README. Notably, you’ll need to include your Daily API key in a .env.local file, which can be found via the Daily dashboard. This will be used to create Daily rooms for you on the fly.
We’ll also include a few pieces of information from CometChat found in their dashboard:
- The widget ID
- The app ID
- The app region
- The app auth key
- Your API key
Your .env.local file should include the following variables in it before starting your local server:
REACT_APP_DAILY_API_KEY=

REACT_APP_COMET_CHAT_WIDGET_ID=
REACT_APP_COMET_CHAT_APP_ID=
REACT_APP_COMET_CHAT_APP_REGION=
REACT_APP_COMET_CHAT_APP_AUTH_KEY=
REACT_APP_COMET_CHAT_API_KEY=
Once these values have been added, you can install the app dependencies and start your local server:
npm install
npm start
Since we’re running this locally, we will also update our api.js file to use the commented out response variable and comment out the one used by default. (The default is set up for a deployed version of the app, but we’ll be testing locally.)
Gutting our existing Chat component
The Chat component in our custom demo app is going to be replaced with the CometChat widget, so we can get rid of everything in the component other than the localParticipant value (we’ll be using that).
export default function Chat({ showChat }) {
 const localParticipant = useLocalParticipant();

 return (
   <aside className={`chat ${!showChat ? 'hidden' : ''}`}>
   </aside>
 );
}
Our Chat component after gutting most of the existing code in our demo app
Instead of conditionally rendering the chat when it’s open like we did in the original code, we’ll keep it rendered in the DOM regardless of whether it’s shown and just move it off the screen when the local participant closes it.
We can do this by having a conditional 'hidden' class on the <aside> element — the component’s parent element — that is added when the showChat prop is true.
className={`chat ${!showChat ? 'hidden' : ''}`}
.chat.hidden {
  width: 0;
}
The showChat prop already exists in this Chat component. It is set whenever the tray button for the chat is toggled.
Adding the CometChat chat widget
First things first: let’s add the CometChat chat widget script tag to our public/index.html file:
   <script
     defer
     src="https://widget-js.cometchat.io/v3/cometchatwidget.js"
   ></script>
Next, we’ll add an element that the CometChat chat widget can be embedded in. The widget UI is already made for us, so we just need to tell CometChat where to put it.
 return (
   <aside className={`chat ${!showChat ? 'hidden' : ''}`}>
     <div id="cometchat"></div>
   </aside>
 );
We set the ID ”cometchat” on the <div> element. We’ll be using this element’s ID further down in the tutorial to let CometChat know where to place the chat widget we’re going to be embedding.
After that, we can pour a cup of coffee and read the CometChat docs for the chat widget. It’s a quick read and will make this next phase way easier to follow. 🚀
Note: Their REST API docs are also a useful resource to have even more control over customizing the chat widget experience.
Initiating the chat widget
Okay, coffee break’s over. Let’s initialize the chat widget when the Chat component first renders. We can do this in a useEffect hook.
useEffect(() => {
   // INITIALIZE COMETCHAT WIDGET
   window.CometChatWidget.init({
     appID: process.env.REACT_APP_COMET_CHAT_APP_ID,
     appRegion: process.env.REACT_APP_COMET_CHAT_APP_REGION,
     authKey: process.env.REACT_APP_COMET_CHAT_APP_AUTH_KEY,
   }).then(() => {
	  // next steps to follow
   );
 }, []);
Since we included CometChat via a script tag already, we can access the chat widget through the window object. We’ll call window.CometChatWidget.init() with the environment variables we included while setting up our project.
Once it’s initiated, we can move on to our next step: creating a CometChat user that is synced with our Daily local participant. (If you’re testing the app, that’s you in the video call!)
Creating a CometChat user
We want the participants in the video call to match the participants in the chat widget. To accomplish this, we need to create a user when the chat is initiated. We’ll use Daily’s localParticipant information (via the useLocalParticipant() hook to have unique user data to identify and differentiate our users. This identifying information will also keep the Daily and CometChat user information in sync.
  useEffect(() => {
    ...

    window.CometChatWidget.init({
      appID: process.env.REACT_APP_COMET_CHAT_APP_ID,
      appRegion: process.env.REACT_APP_COMET_CHAT_APP_REGION,
      authKey: process.env.REACT_APP_COMET_CHAT_APP_AUTH_KEY,
    }).then(
      () => {
        const UID = localParticipant.session_id;
        const user = new window.CometChatWidget.CometChat.User(UID);
        user.setName(localParticipant.user_name);

        // CREATE USER WITH LOCAL PARTICIPANT INFO
        window.CometChatWidget.createOrUpdateUser(user).then((user) => {
          // next steps discussed below
        });
      },
      (error) => {
        console.error('Initialization failed with error:', error);
        // Check the reason for error and take appropriate action.
      },
    );
  }, [localParticipant.session_id, localParticipant.user_name, loaded, roomName]);
Here, we’re using the session_id and user_name for our CometChat user and calling window.CometChatWidget.createOrUpdateUser(user) to create the user. (The session_id will always be unique per user and per session.)
Note: If you already have user accounts in your app, you may prefer to use information from your user accounts rather than tie the CometChat user to the Daily session ID. The session refers to the call participant's presence in the call. Once they leave, the session is over.
We can confirm this was successful in the CometChat dashboard to make sure it’s working as expected.
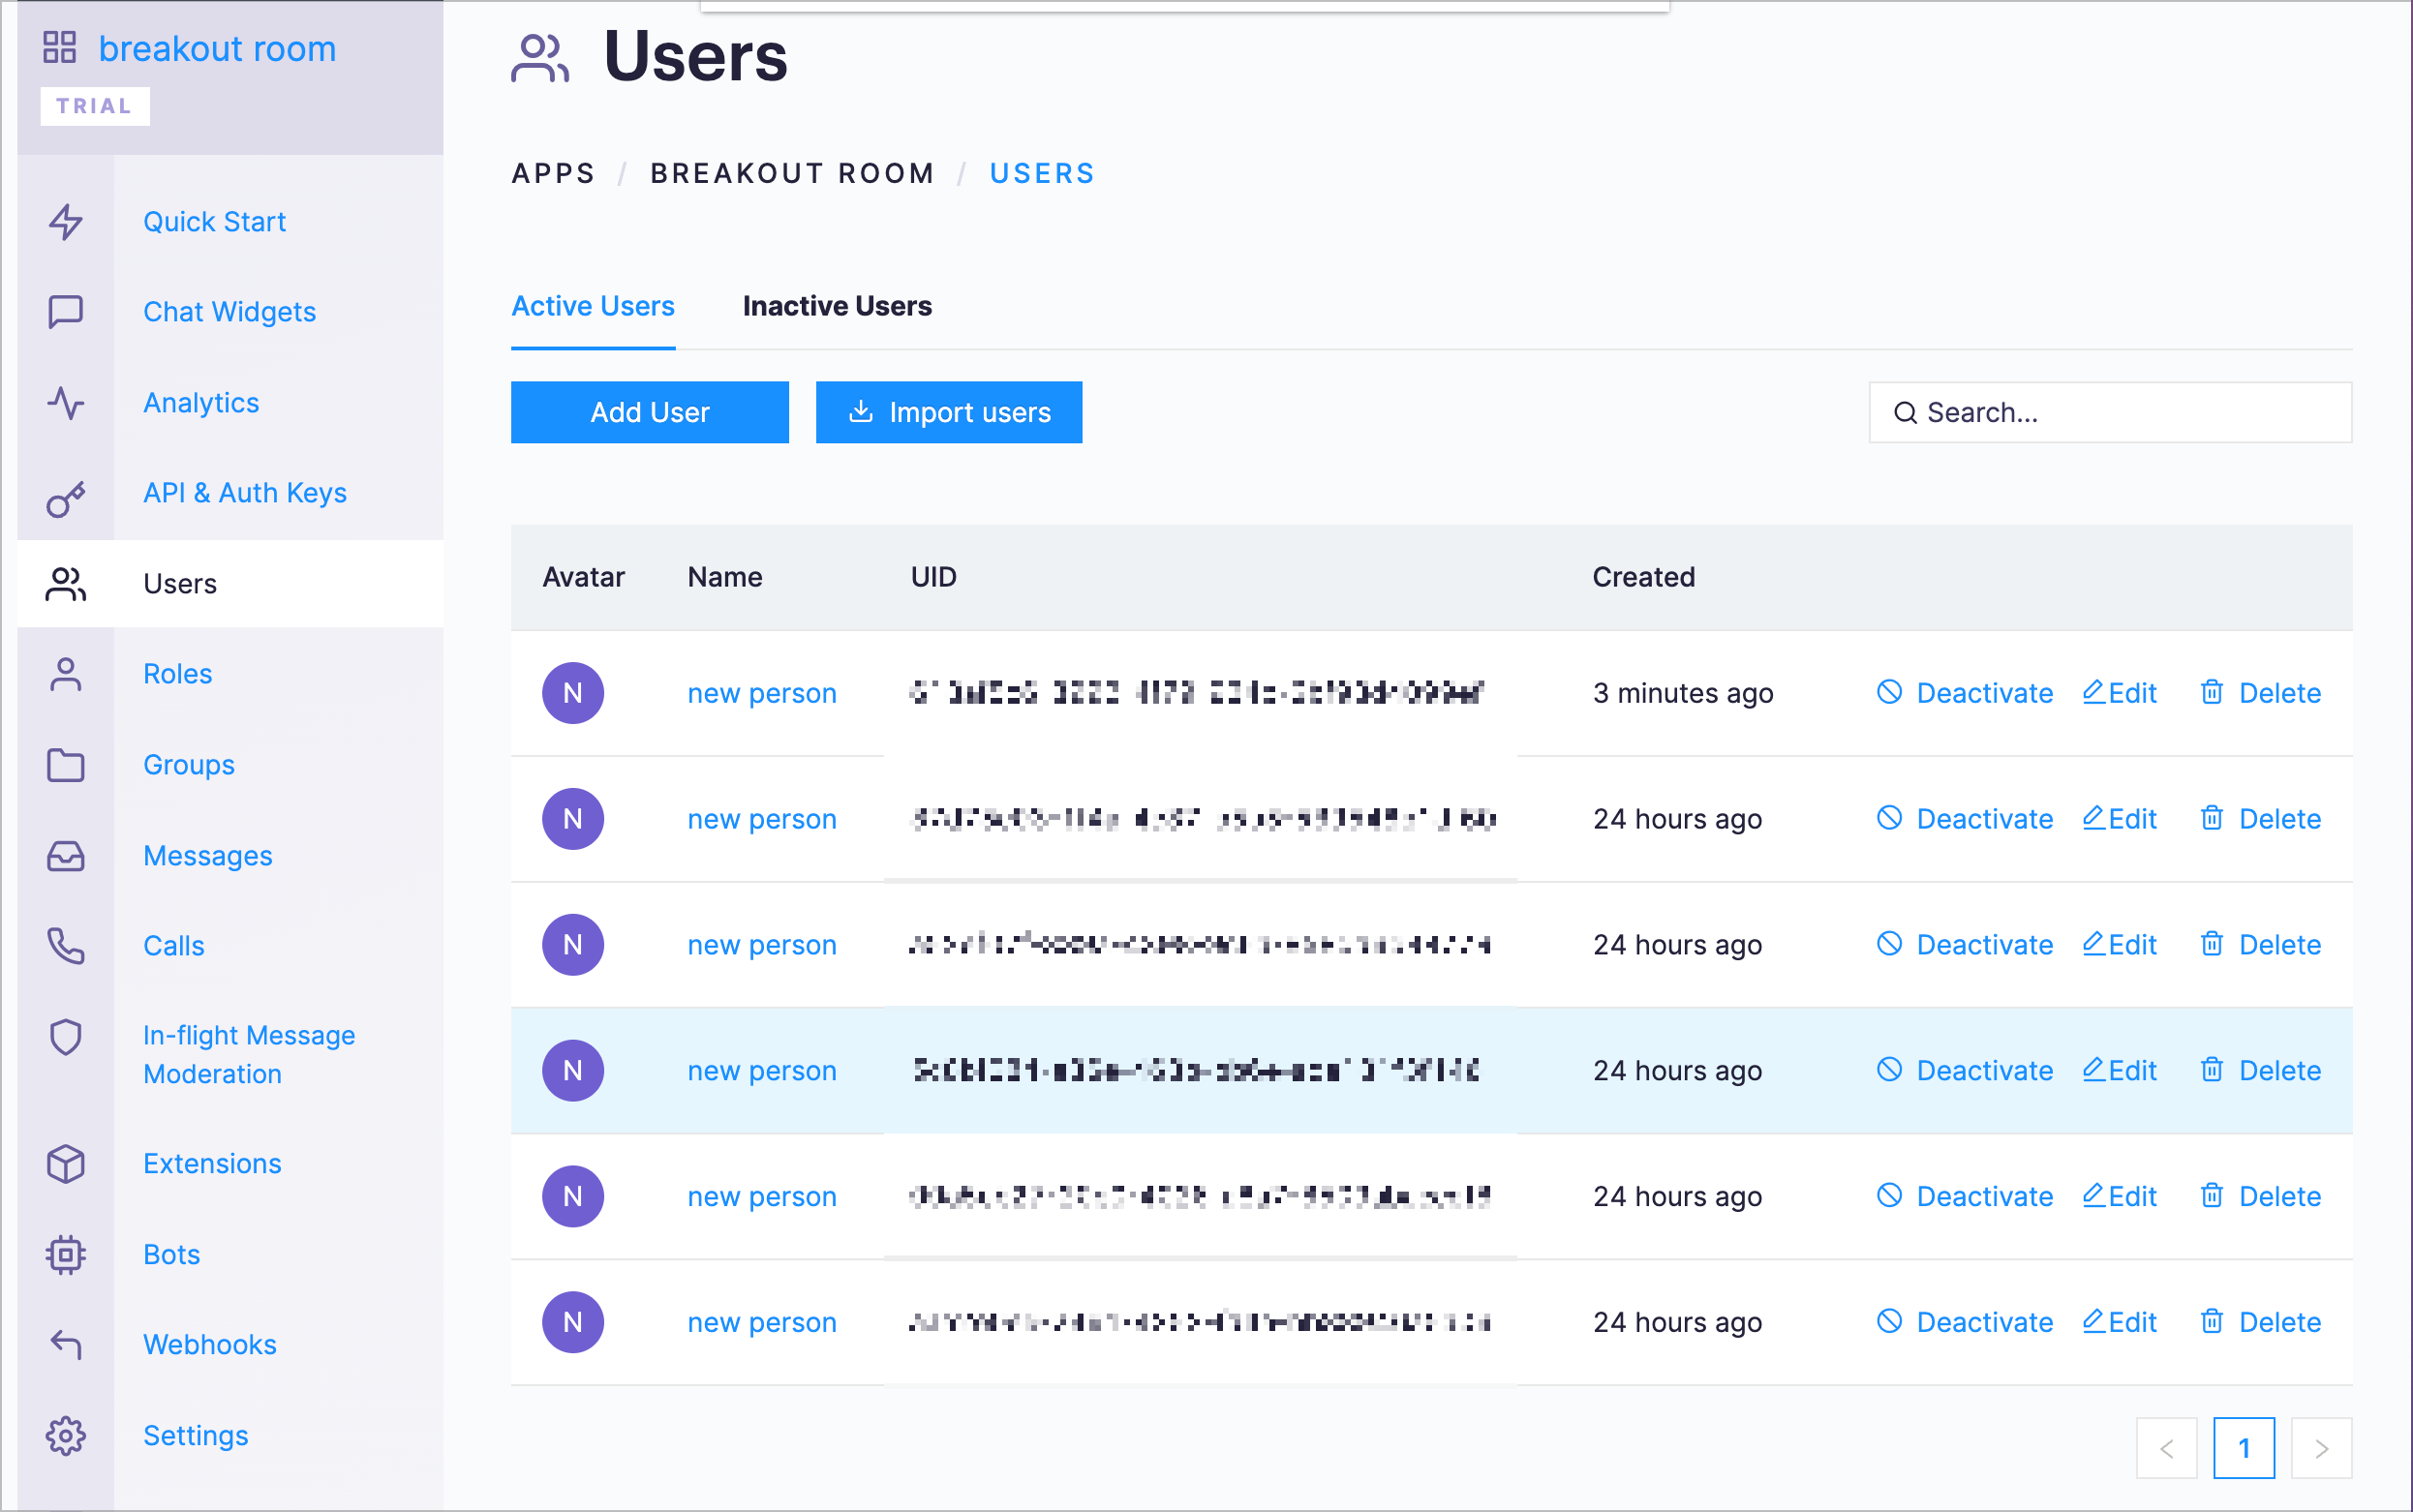
Note to self: Use more creative usernames next time!
Now we just need to log in the user so they can use the widget:
const [loaded, setLoaded] = useState(false);

 useEffect(() => {
   // don't initiate chat if it's already there
   if (loaded) return;

   window.CometChatWidget.init({
     appID: process.env.REACT_APP_COMET_CHAT_APP_ID,
     appRegion: process.env.REACT_APP_COMET_CHAT_APP_REGION,
     authKey: process.env.REACT_APP_COMET_CHAT_APP_AUTH_KEY,
   }).then(() => {
       const UID = localParticipant.session_id;
       const user = new window.CometChatWidget.CometChat.User(UID);
       user.setName(localParticipant.user_name);

       // CREATE USER WITH LOCAL PARTICIPANT INFO
       window.CometChatWidget.createOrUpdateUser(user)
         .then((user) => {
             // Proceed with user login
             window.CometChatWidget.login({
               uid: UID,
             }).then(() => {
               createCometChatGroup();
             });
       });
     },
     (error) => {
       console.log('Initialization failed with error:', error);
       // Check the reason for error and take appropriate action.
     },
   );
There are a few additions to note here:
- We log in our local participant with
window.CometChatWidget.login()using the Daily session ID we used to create the user. - After logging in, we call
createCometChatGroup(), which we have not defined yet
We still need to create a CometChat group and launch the chat widget. Let’s take a look at how to do that now.
Creating a CometChat group
Groups are what they sound like: multiple people can be in one group chat in the chat widget. We want to create a group specific to the video call you’re currently in so you can chat with everyone present in the call.
We’ll use the Daily room name as the CometChat group name as a simple way to keep the call and chat group related.
 const { name: roomName } = useRoom();

 const createCometChatGroup = () => {
    const GUID = roomName;

    // make GET request to CometChat's REST API
    // to see if group exists
    api.getCometChatGroup(GUID).then((group) => {
      if (group?.data) {
        // group already exists in CometChat
        // so we don't have to create it
        launchCometChat(group.data.guid);
        return;
      }

      // Otherwise, create new CometChat group for this Daily room
      const GROUP_NAME = roomName;
      const GROUP_TYPE = 'public';
      const newGroup = new window.CometChatWidget.CometChat.Group(GUID, GROUP_NAME, GROUP_TYPE);

      // CREATE GROUP WITH ROOM INFO
      window.CometChatWidget.createOrUpdateGroup(newGroup)
        .then(() => {
          // Proceed with launching your Chat Widget
          launchCometChat(GROUP_NAME);
        })
        .catch((e) => {
          // handle error
          console.error(e);
        });
    });
  };
In createCometChatGroup(), we’re using the useRoom() Daily hook to get our room name and setting that as the chat group identifier.
Once we have our group name, there are two possibilities:
- The group already exists, so we can just join it
- The group doesn't exist (i.e. we're the first to join the call), so we need to create a new CometChat group and then join it
To know which to do, we'll make a request to CometChat's REST API to see if there's a group with our room name in our api.js file's getCometChatGroup() function, which looks like this:
async function getCometChatGroup(guid) {
  const appId = process.env.REACT_APP_COMET_CHAT_APP_ID;
  const region = process.env.REACT_APP_COMET_CHAT_APP_REGION;
  const key = process.env.REACT_APP_COMET_CHAT_API_KEY;

  const response = await fetch(
      `https://${appId}.api-${region}.cometchat.io/v3/groups/${guid}`
  , {
    method: 'GET',
    headers: {
      'Content-Type': 'application/json',
      apiKey: key,
    },
  });

  return await response.json();
}
If the group exists, we'll get a response with the group information. We can then call launchCometChat(), which is defined in the next section.
If the group doesn't exist, we'll get an error. That tells us we can go ahead and make the group.
To do this, we’ll use our room name to make a new public group in CometChat:
const GUID = roomName;
const GROUP_NAME = roomName;
const GROUP_TYPE = 'public';
const newGroup = new window.CometChatWidget.CometChat.Group(GUID, GROUP_NAME, GROUP_TYPE);
Next, we create the group in the widget:
window.CometChatWidget.createOrUpdateGroup(newGroup)
If it is successful, we can launch the widget with launchCometChat().
Note: As we say with any demo app, you can and likely should increase error handling if you’re building a production-level app. We try to keep demo code simple, but you’ll want to give your users feedback in the app UI for any issues they may hit while interacting with app features.
And finally, launching the chat widget
Now that we’ve got our user and group, we can launch the chat widget with launchCometChat(), which will call window.CometChatWidget.launch().
  const launchCometChat = (room) => {
    window.CometChatWidget.launch({
      widgetID: process.env.REACT_APP_COMET_CHAT_WIDGET_ID,
      target: '#cometchat',
      roundedCorners: 'false',
      height: '100%',
      width: '100%',
      defaultID: room, //default UID (user) or GUID (group) to show,
      defaultType: 'group', //user or group
    });
    setLoaded(true);
  };
We use our widget ID added to the environment variables earlier and set the height and width to take up the available space in the chat element.
We also make the defaultType equal to group and pass our room name as the group ID so that the group chat loads by default. Alternatively, it could load a direct message chat with a specific user. We’ve decided to load the group view because we’ll assume it’s a group call, so folks will want to chat as a group by default, and individually as a secondary option.
As a final step, we set loaded to true with setLoaded(true). This will prevent the chat being unnecessarily launched more than once.
It’s hard to tell how many steps got us here by looking at the UI interactions, but with one click, the user has a full chat widget ready to use!
Turning on optional extensions
For the sake of this demo, let’s say we’re following the ed-tech use case. If we’re building this app for a teaching platform, teachers may find optional features like a whiteboard, class polling, collaborative documents, live transcription, etc. useful for running a successful remote classroom.
To turn on these extensions, visit the CometChat dashboard and navigate to the Extensions page. From there, it’s as simple as toggling on the extensions you’d like to use in your app.
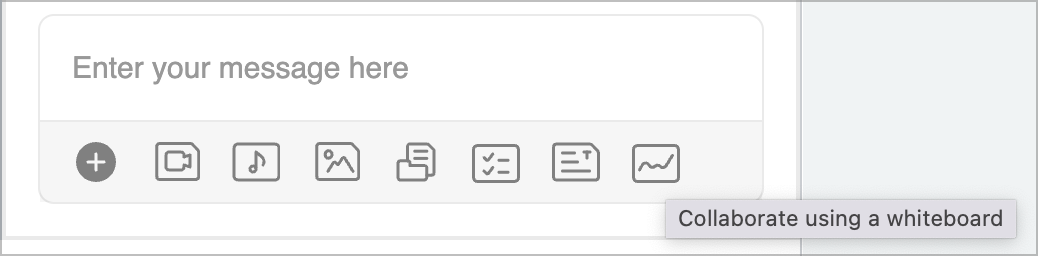
Once added, your extensions will be available under the chat input for anyone to use.

When we said above that third-party APIs can save you a lot of time, this is what we're talking about! 😁
User has left the chat
Eventually, your call participants will need to leave the call and chat. You can perform different “clean-up” tasks for this depending on your specific app requirements.
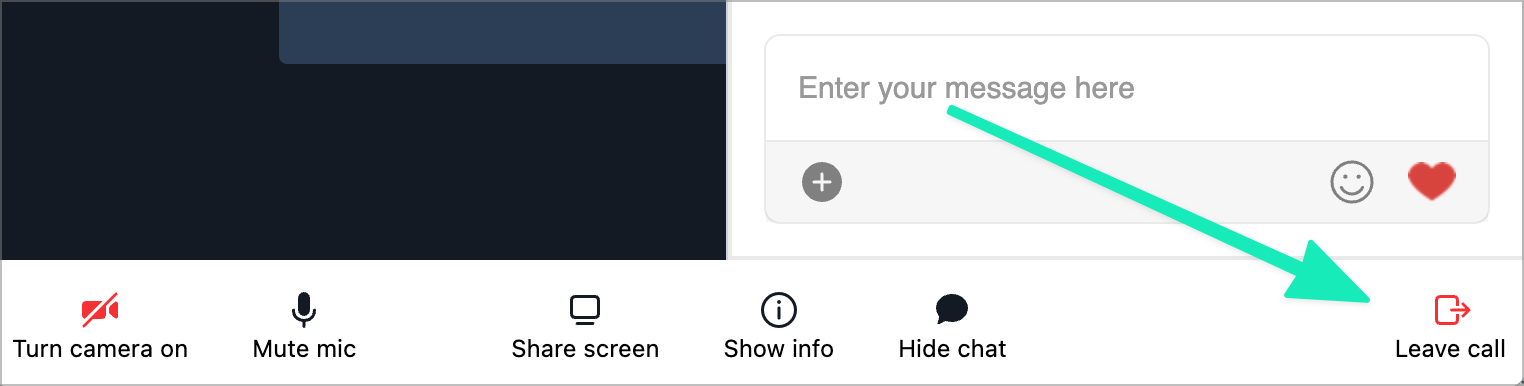
Let’s say you just want to log them out of CometChat when they leave the call. CometChat provides a method for accomplishing this. In App.js, there’s a method called startLeavingCall() that is triggered when the call participant clicks the “leave” button in the call tray.
 const startLeavingCall = useCallback(() => {
   if (!callObject) return;

   window.CometChatWidget.logout().then((response) => {
       // User successfully logged out.
       // Perform any clean up if required.
     });
  ...
We can add the window.CometChatWidget.logout() method call here as a first step in leaving. The next steps are already in our code and cover the Daily portion of ending a call.
One thing to note: Since the Daily session ID is tied to the CometChat user we’ve created, a returning user won’t be able to log in to the chat again with the same account since it will be a new “session” when they come back to the call. In other words, if you join the same Daily room on separate occasions with how it’s currently set up, you would end up with two unique users created in the chat widget. To avoid this, you may want to use your own authentication data to track unique users instead of the Daily session ID.
Alternatively, you might want to delete the user from the chat when they leave the video call. We can use the CometChat REST API for this in the same spot as our previous option.
 const startLeavingCall = useCallback(() => {
   if (!callObject) return;
   const userId = callObject.participants().local.session_id;
   api
     .deleteCometChatUser(userId)
     .then((response) => {
       // continue with next steps
     })
     .catch((e) => {
       console.error(e);
     });
     ...
Here, we’re calling a custom function called deleteCometChatUser(), defined in our api.js file:
async function deleteCometChatUser(uid) {
 const appId = process.env.REACT_APP_COMET_CHAT_APP_ID;
 const region = process.env.REACT_APP_COMET_CHAT_APP_REGION;
 const key = process.env.REACT_APP_COMET_CHAT_API_KEY;

 const response = await fetch(`https://${appId}.api-${region}.cometchat.io/v3/users/${uid}`, {
   method: 'DELETE',
   body: JSON.stringify({ permanent: false }),
   headers: {
     'Content-Type': 'application/json',
     apiKey: key,
   },
 });

 return await response.json();
}
Whether you have a user that can login multiple times or you only have single-use accounts depends on the UX you want to provide in your app. In an ed-tech app, for example, you may have the same students returning every week and, therefore, you probably wouldn’t want to delete the user after each call.
In terms of other clean up tasks, you could delete the chat group when the last person in the call leaves or when the Daily room is about to expire. You could also leave everything as is, which may be a good option for use cases where you want to save the chat history from every Daily call.
It’s really up to you and your app specs when deciding how to handle what happens next.
Wrapping up
CometChat is incredibly powerful and has a number of options for integrating enriched chat into your Daily app.
As we’ve seen with the chat widget, you can quickly add a multi-feature, enriched chat experience with very few lines of code. In addition to the chat widget, you can also try the UI kits or SDKs to meet your app’s requirements.
If you’d like to see what Daily offers in terms of chat options, read our blog posts on adding chat in custom apps or try our Daily Prebuilt’s embedded chat.
Never miss a story
Get the latest direct to your inbox.