

Here at Daily we design our APIs to add custom video call features to your app as quickly and easily as possible.
Lately, we've been discussing when it's better to build out a new feature in your app and when a custom Chrome extension is preferable. One good case for a Chrome extension is when the problem being solved is so specific it doesn't need to be handled in the app itself. For example, when our company-wide stand-up got a little too big, we built a Chrome extension to help manage that one specific meeting.
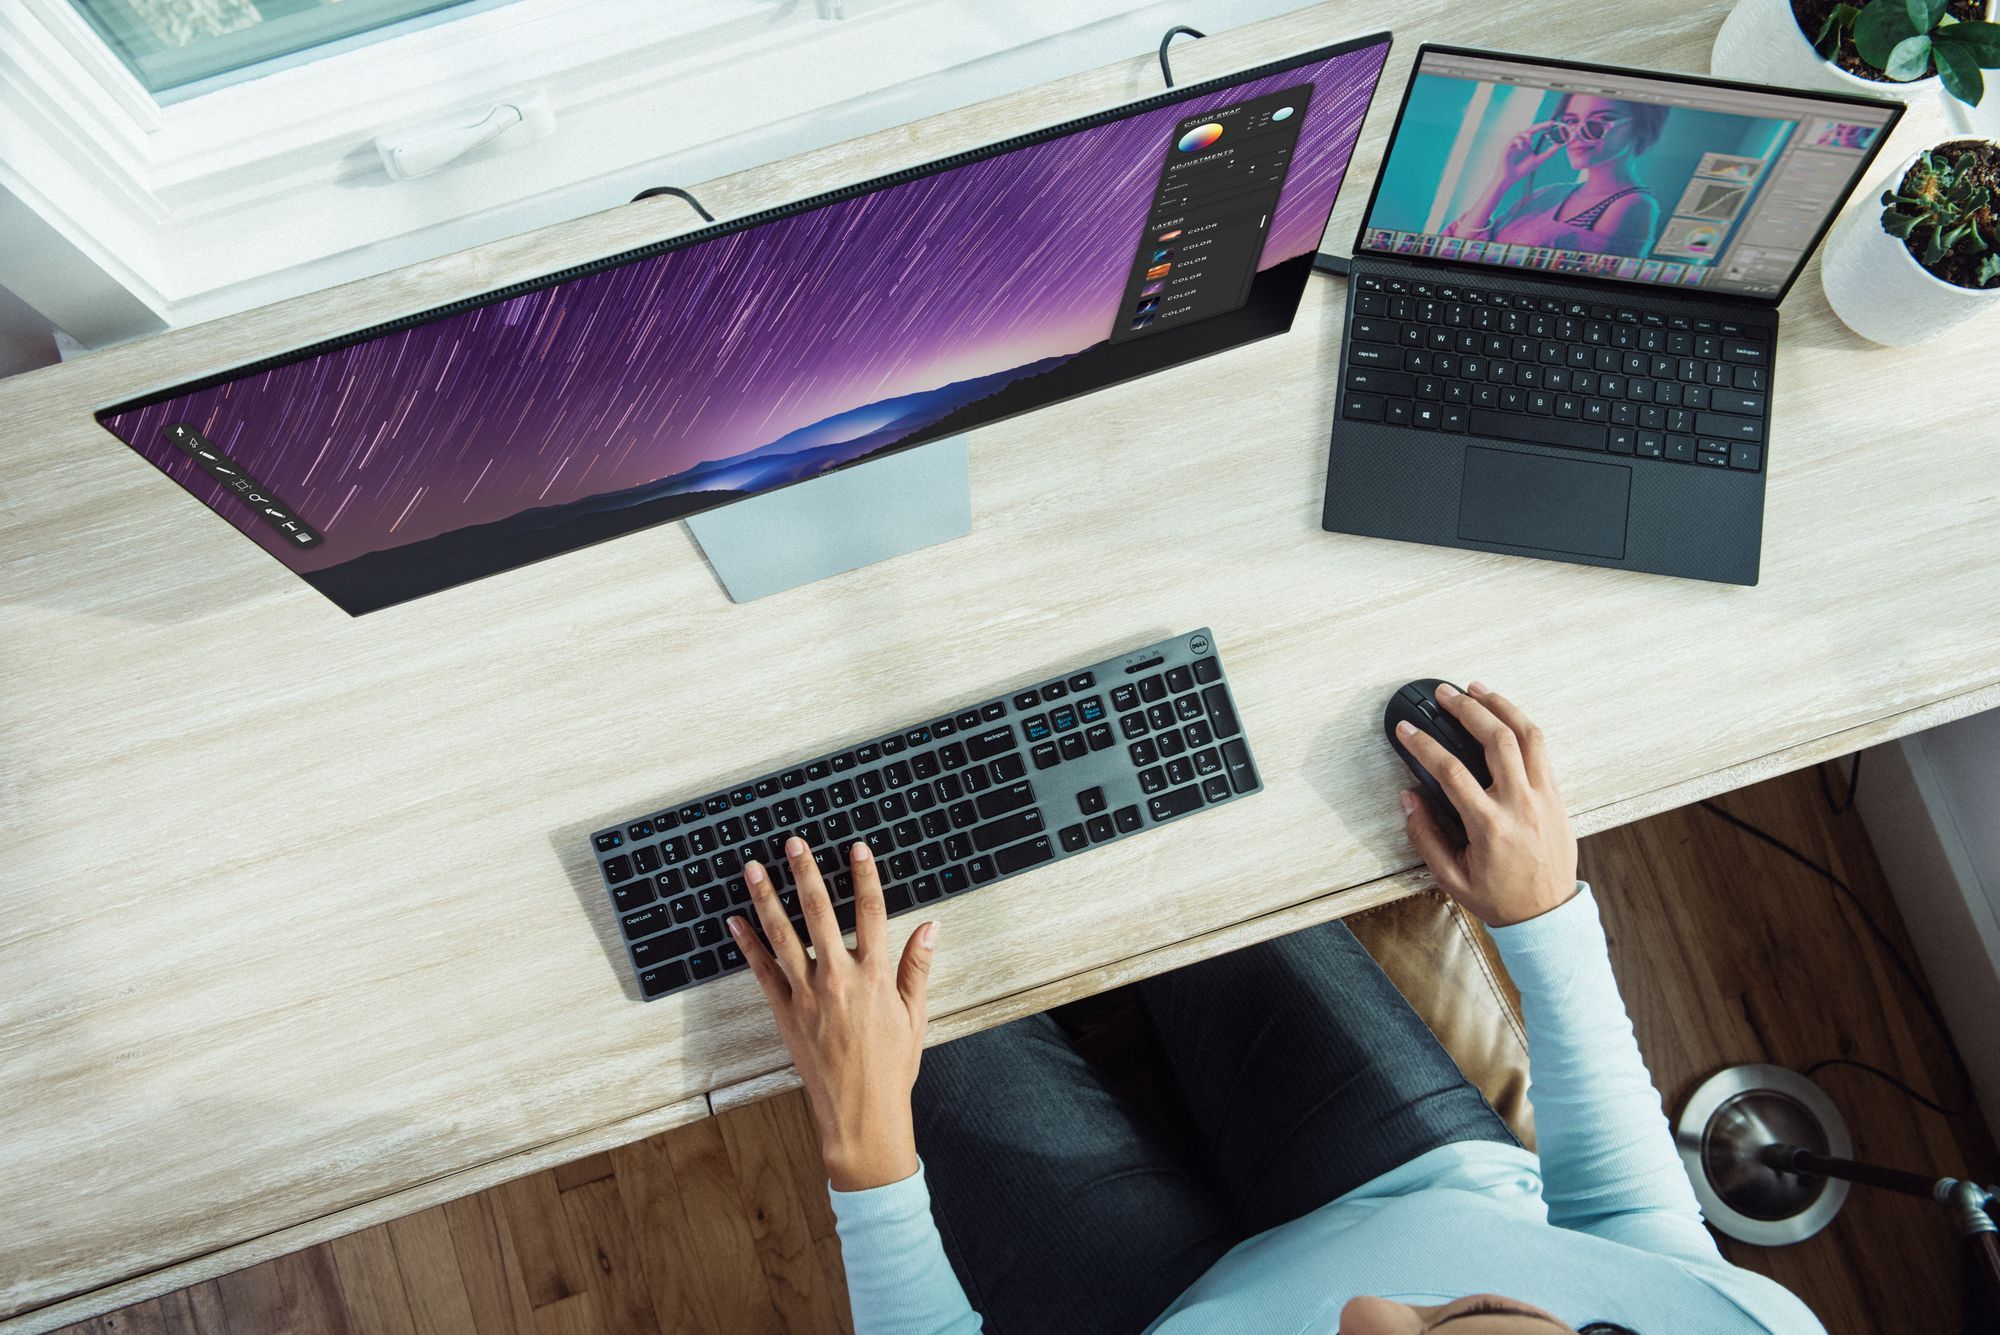
Twitter brought another good Chrome extension use case to our attention recently. We were tagged in a tweet about wanting to auto-generate a shareable link for a screen share right from the browser. It got us thinking...
Screen sharing is already easy in Daily calls. If you're using the prebuilt UI you just have to enable screen sharing as a room setting, and it'll be available during the call. If you're using call object mode, you can get even more creative customizing how to enable screen sharing.
This tweet made us wonder what is often asked in engineering, though: could we make screen sharing even faster?
Defining our problem
We accepted this new challenge and came up with a plan for how to screen share any Chrome tab with just a couple clicks.
For this project we’re going to build a Chrome extension that can:
- Create and launch a new Daily room
- Auto-share our screen
- Return a shareable link to give to others
These requirements are covered by two standalone tutorials:

- How to create and launch a new Daily room is described in a separate tutorial: Deploy an on-demand video meeting platform with Daily’s prebuilt UI and Netlify.
- Sharing your screen and getting a shareable link will be covered here with the Chrome extension.
Let's make a plan
The Chrome extension will have three steps to go from browsing a website to sharing your screen.
- It will make an icon available in the browser's toolbar, which can be used on any website. Clicking the icon will open the Chrome extension's menu. This is where we'll handle everything.
- From the menu, we can add our Netlify link and save it to localStorage. This means once it's added, you don't have to add it again.
- Submitting that information will create a Daily room and launch a new meeting with screen sharing enabled.
That means you can start your screen share of any website in just two clicks!
File structure cheat sheet
If you prefer to know what you're getting yourself into ahead of time, here's what your final project file structure should look like:
Project_directory
│_  README.md (optional)
│_  manifest.json
│_  popup.html
│_  popup.js
│_  icon.png
│_  icon-sm.png
If you'd rather use the source code directly, we've gone ahead and shared all the code used below.
Getting started
We'll start by creating our manifest.json file to set up how we want our Chrome extension configured. (Check out Chrome's getting started docs for more details.)
{
 "manifest_version": 2,
 "name": "Daily Screen Share",
 "description": "Share your screen directly from a Chrome extension",
 "version": "0.1",
 "icons": {
   "16": "icon-sm.png",
   "128": "icon.png"
 },
 "browser_action": {
   "default_popup": "popup.html"
 },
 "permissions": ["tabs"]
}
We'll include both icon sizes here and we can set the default pop-up to be the popup.html file, which we'll soon create.
For permissions, we will include tabs so the Chrome extension is allowed to programmatically open a new tab in Chrome for the Daily call.
Building our menu
Next, we can create our popup.html, which will be the menu that shows when you click on the extension icon in the browser.
<!DOCTYPE html>
<html lang="en">
<head>
<meta charset="UTF-8" />
<title>Daily Screen Share Chrome Extension Menu</title>
<style>
/* CSS styles have been removed to save space, but you can find them in the source code! */
</style>
<script src="popup.js">
/* Include our custom JS for event handling */
</script>
</head>
<body class="menu-body">
/* Remember to exclude this image or replace it with a local image you have
*/
<img class="logo" src="./daily-logo.png" alt="Daily logo" />
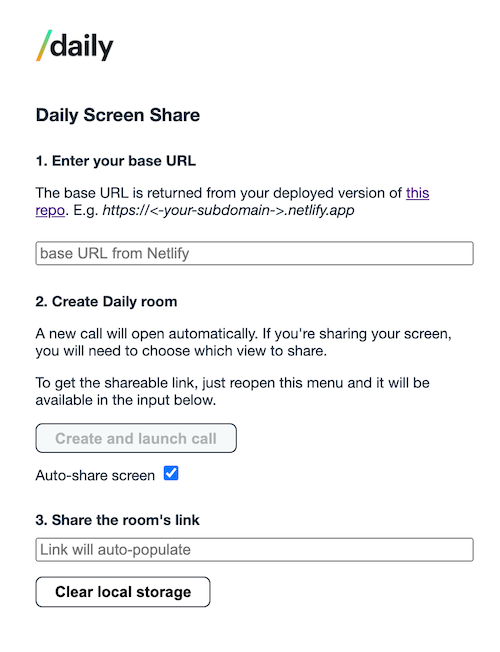
<h1 class="header">Daily Screen Share</h1>
<label class="label" for="baseURL">1. Enter your base URL</label>
<p>
The base URL is returned from your deployed version of
<a href="https://github.com/daily-demos/fullscreen-prebuilt-ui"
>this repo</a
>. E.g.
<span class="example-text">https://<-your-subdomain->.netlify.app</span>
</p>
<input
placeholder="base URL from Netlify"
class="input"
type="text"
id="baseURL"
/>
<p class="text">2. Create Daily room</p>
<p>
A new call will open automatically. If you're sharing your screen, you
will need to choose which view to share.
</p>
<p>
To get the shareable link, just reopen this menu and it will be available
in the input below.
</p>
<button class="share-button" disabled>Create and launch call</button>
<label for="screenShareCheckbox">Auto-share screen</label>
<input id="screenShareCheckbox" type="checkbox" checked />
<label class="label" for="screenShareURL">3. Share the room's link</label>
<input
placeholder="Link will auto-populate"
class="input"
type="text"
id="screenShareURL"
/>
<p class="error"></p>
<button class="clear-button">Clear local storage</button>
</body>
</html>
The elements to be most aware of in the code block above are the inputs and buttons. They will have their event handlers added by our custom JavaScript file imported in the <script> tag.
Next, we'll create our custom JavaScript popup.js file and include the following code:
document.addEventListener("DOMContentLoaded", function () {
 getAndSetLocalStorageItems();

 const baseUrlInput = document.getElementById("baseURL");
 baseUrlInput.addEventListener("input", function (e) {
   handleBaseInputChange(e);
 });

 // handle create room button click
 const shareButton = document.getElementsByClassName("share-button")[0];
 shareButton.addEventListener("click", function () {
   createRoomAndShareScreen();
 });

 // give option to clear localStorage
 const clearButton = document.getElementsByClassName("clear-button")[0];
 clearButton.addEventListener("click", function () {
   clearLocalStorage();
 });
});
There are four main pieces to this code:
getAndSetLocalStorageItemsuses localStorage to pre-fill inputs when possible.handleBaseInputChangeadds an event listener on the base URL input to determine if the submit button should be enabled or not.createRoomAndShareScreenadds a click handler to the submit ("share") button.clearLocalStorageallows the user to clear their localStorage by adding a click handler on the "clear" button.
Let's take a closer look at each of these functions. Each code block below will need to be added to popup.js as well.
function getAndSetLocalStorageItems() {
 const shareableLink = localStorage.getItem("daily-chrome-extension-shareurl");
 const baseURL = localStorage.getItem("daily-chrome-extension-baseurl");
 if (shareableLink) {
   document.getElementById("screenShareURL").value = shareableLink;
 }
 if (baseURL) {
   document.getElementById("baseURL").value = baseURL;
   document.getElementsByClassName("share-button")[0].disabled = false;
 }
}
Here we check localStorage for a shareable link or base URL in case one has already been set. If either is available, we update the corresponding input with the saved value.
The base URL is the Netlify URL returned in the tutorial for part one. This is the base URL for the endpoint that will create a new room.
The shareable link is what is returned by our create room endpoint.
Both of these values will only exist in localStorage if you've successfully used this extension already.
function handleBaseInputChange(e) {
 const button = document.getElementsByClassName("share-button")[0];
 button.disabled = !e.target.value;
}
Here in handleBaseInputChange, we disable the button for any input changes where the input’s value is falsy, which includes empty strings. This helps avoid invalid data being passed.
function createRoomAndShareScreen() {
 const baseUrlValue = document
   .getElementById("baseURL")
   .value.trim()
   .replace(/\/+$/, "");
 localStorage.setItem("daily-chrome-extension-baseurl", baseUrlValue);
 const shareableRoomUrlInput = document.getElementById("screenShareURL");
 if (baseUrlValue) {
   fetch(`${baseUrlValue}/api/rooms`, {
     method: "POST",
   })
     .then((response) => response.json())
     .then((data) => {
       if (data.url) {
         const shouldShareScreen = document.getElementById(
           "screenShareCheckbox"
         ).checked
           ? "&screenshare=true"
           : "";
         const url = `${baseUrlValue}/?room=${data.url}${shouldShareScreen}`;
         localStorage.setItem(
           "daily-chrome-extension-shareurl",
           `${baseUrlValue}/?room=${data.url}`
         );
         shareableRoomUrlInput.value = url;
         chrome.tabs.create({ url });
       } else {
         document.getElementsByClassName("error")[0].textContent =
           "Oops! A room url was not returned. Please check your base URL.";
       }
     })
     .catch((err) => {
       console.warn(err);
       document.getElementsByClassName("error")[0].textContent =
         "Oops! That didn't work. Make sure you have a base URL in this format: https://<-your-subdomain->.netlify.app";
     });
 } else {
   document.getElementsByClassName("error")[0].textContent =
     "Make sure you have a base URL in this format: https://<-your-subdomain->.netlify.app";
 }
}
Creating a room and sharing your screen in createRoomAndShareScreen is where most of the work is happening. Here we get our base URL from the input and update the localStorage with this new value.
Next we make an API call to our “create room” endpoint. If that response is successful, we check to see if the checkbox to also share your screen is checked. If so, we update the shareable link to enable screen sharing.
As a final step, we take this shareable link, save it to localStorage so it can be accessed later, and open a new tab with that link.
The rest is error handling for when things don't go as planned.
function clearLocalStorage() {
 localStorage.removeItem("daily-chrome-extension-shareurl");
 localStorage.removeItem("daily-chrome-extension-baseurl");
 document.getElementById("baseURL").value = "";
 document.getElementById("screenShareURL").value = "";
}
Lastly in clearLocalStorage, we give the user the option to clear the localStorage items we've used so everything can be reset.
Share your screen... faster
Once we have all this put together, we can upload our Chrome extension in a few steps:
- First go to chrome://extensions/. Make sure developer mode is turned on.
- Click the button Load unpacked.
- Select your project's directory from where you saved it locally.
Once that's added, it's ready to use!
As always, let us know if we can help with whatever video projects you come up with to move faster.
Never miss a story
Get the latest direct to your inbox.